
Getting Started
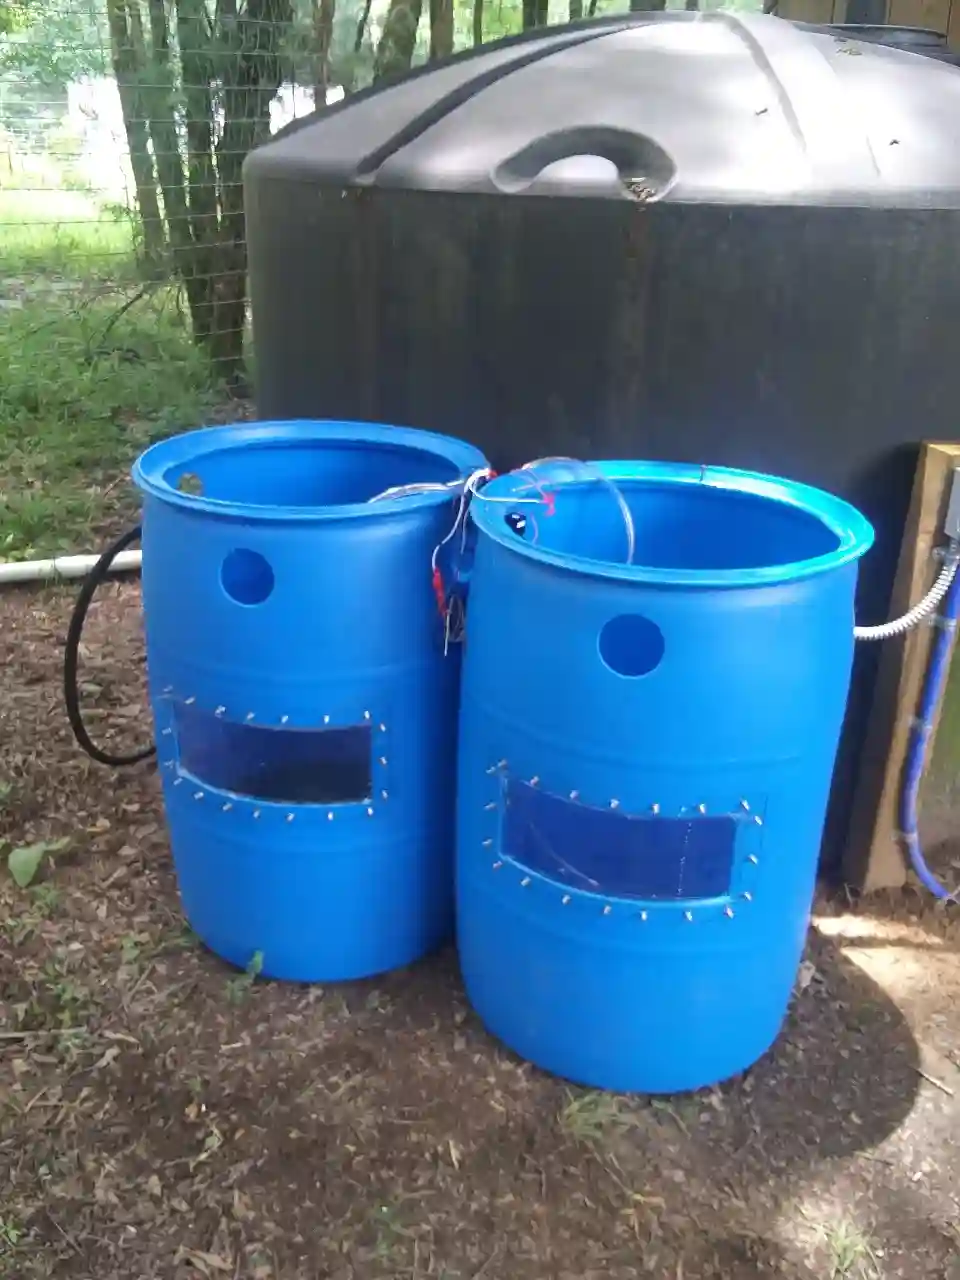
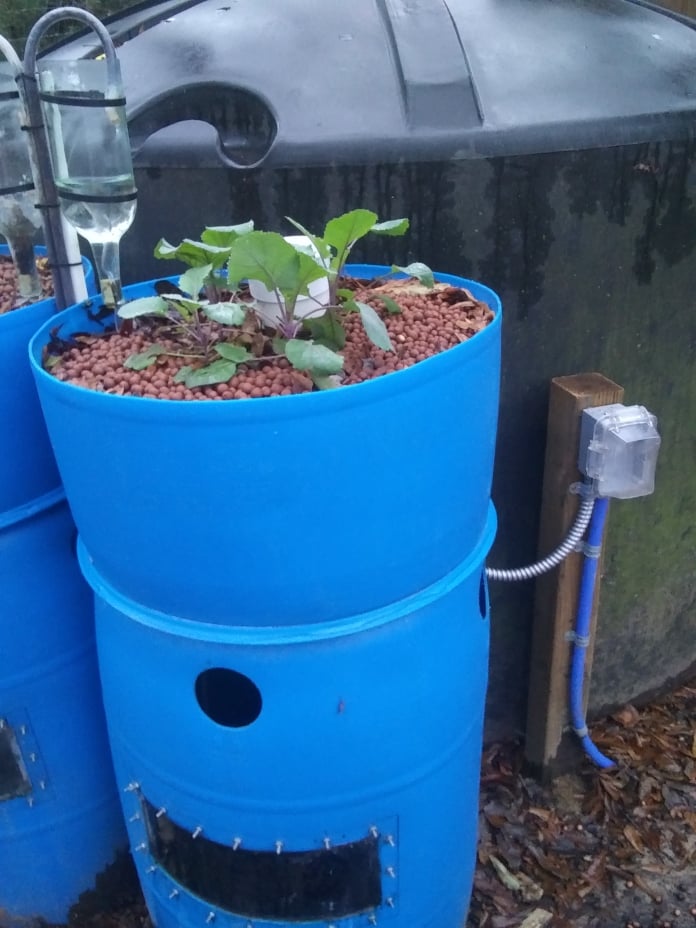
Both the fish tank and the grow bed are fabricated from food grade plastic barrels. These are available used in many localities and come with a relatively cheap price tag.
Both the fish tank and the grow bed are fabricated from food grade plastic barrels. These are available used in many localities and come with a relatively cheap price tag.
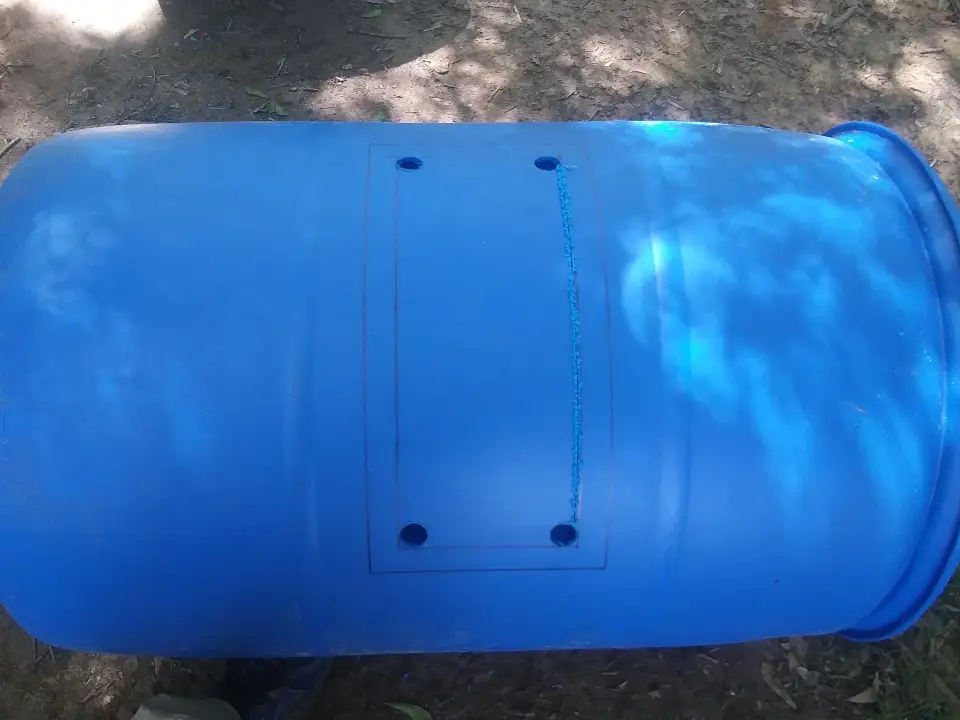
Start by marking an opening for a viewing window in the side of the barrel to view the fish from under the water level. The viewing window will be made from 1/4” polycarbonate sheet available at most hardware stores, and should be cut to size first and traced onto the barrel. Mark the opening 1 1/4” smaller than the polycarbonate on all sides. Drill large holes in the corners to facilitate insertion of a saw blade to make the cutout.
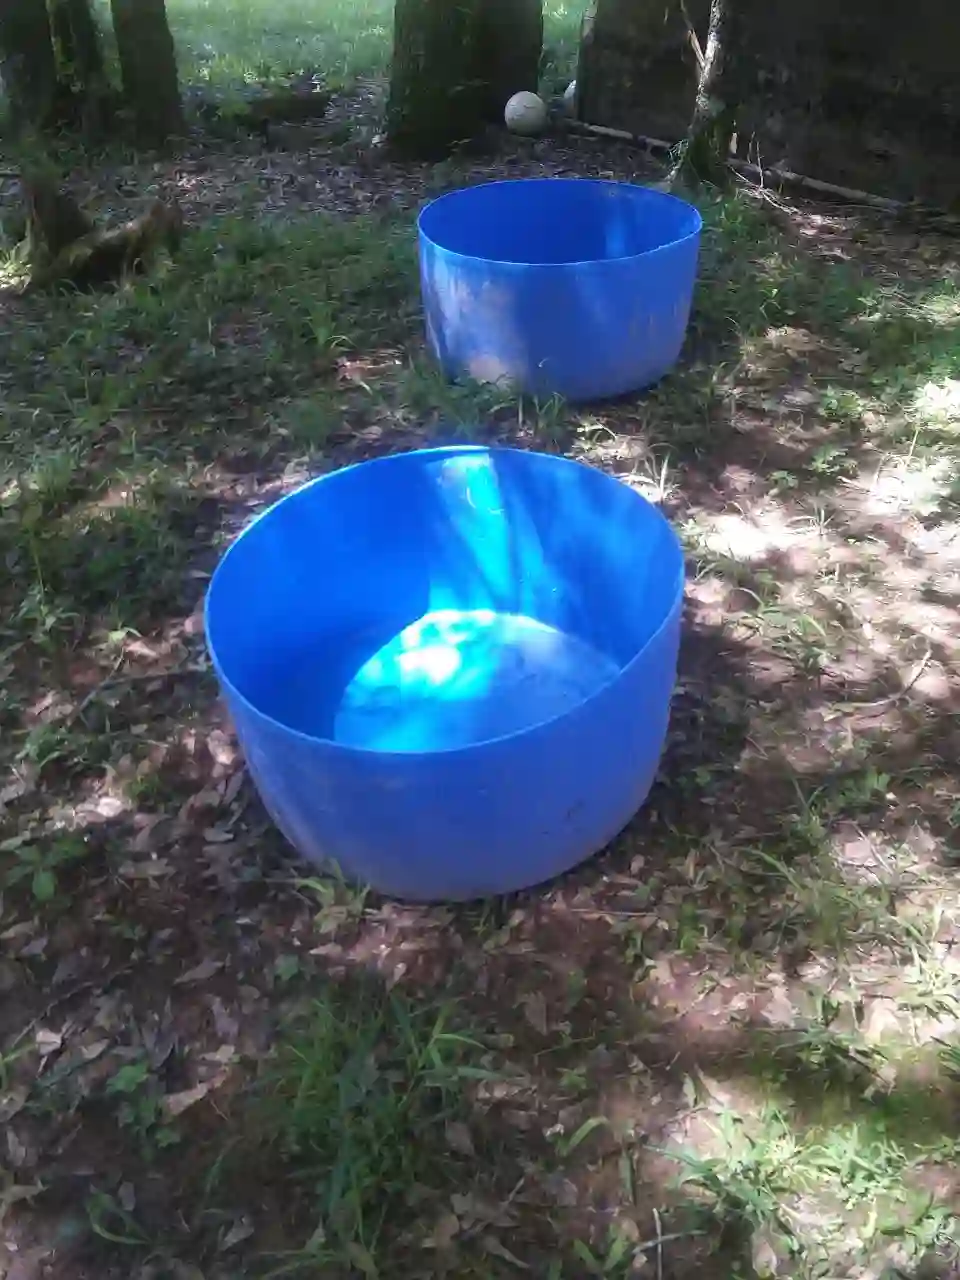
Cut the bottom out of a barrel for the grow bed. This will sit atop the fish tank.
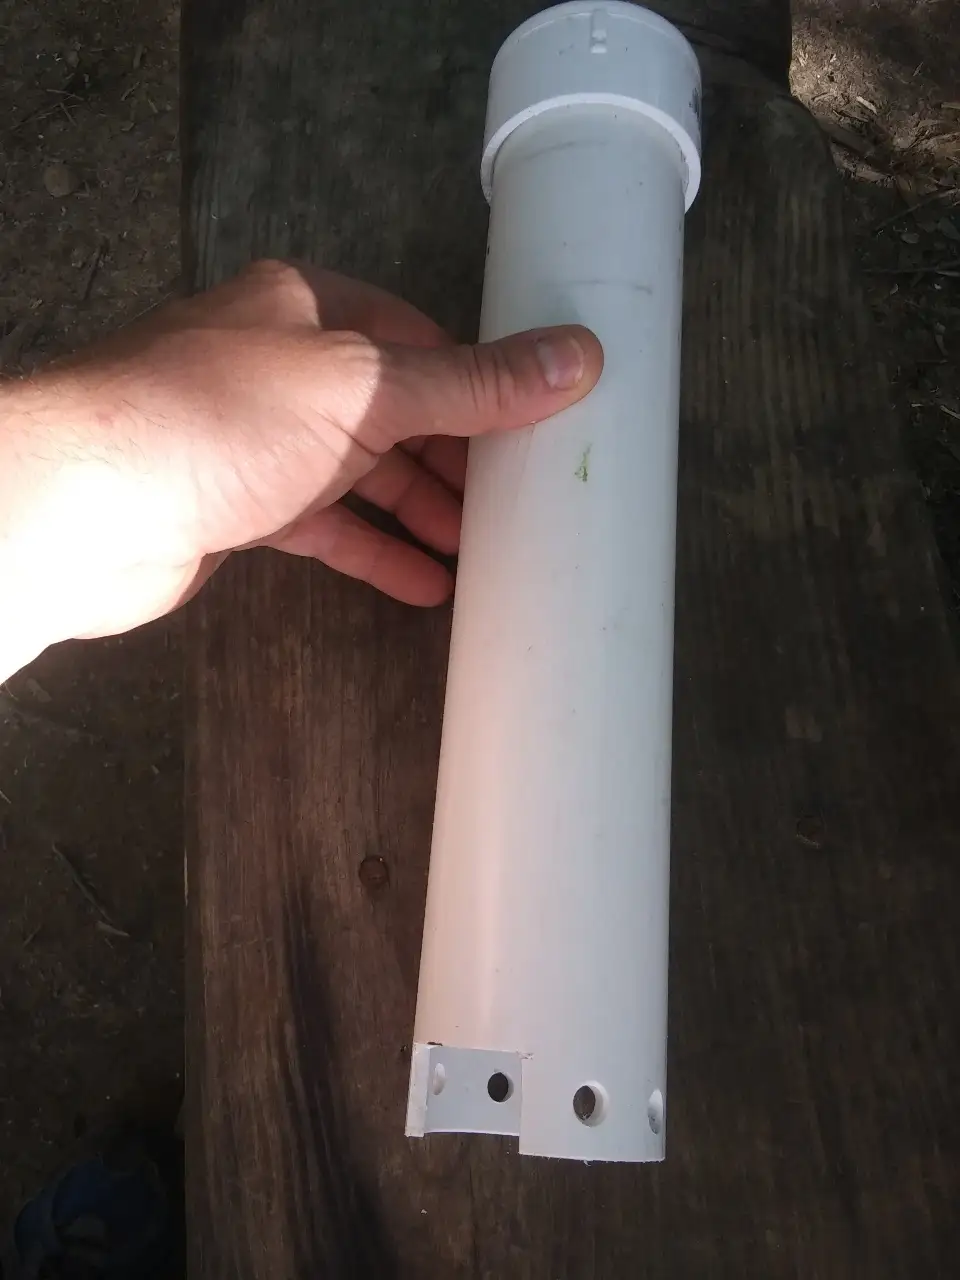
Fabricate the bell siphon cover from 2” schedule 40 pvc, capped. The notches at the bottom are on both sides, and are 1 1/4” wide by 3/4” tall. The 3/4” height determines the time/depth in which the siphon that drains the grow bed will break (more on that later). There is no need to glue the cap. The four (total) holes are 5/16” and are drilled half way between the top of the notch and the bottom of the pipe to facilitate a faster drain time.
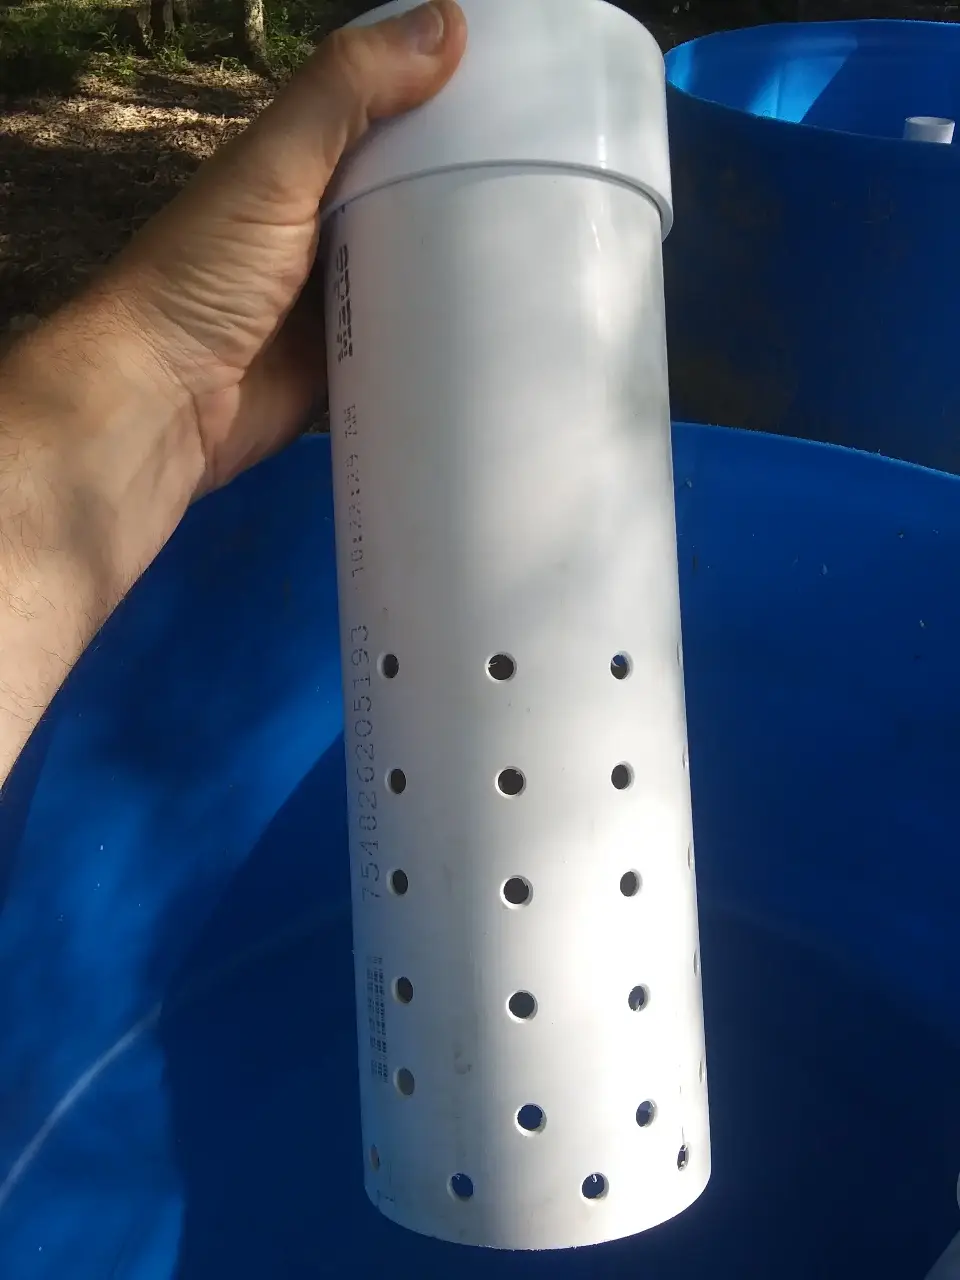
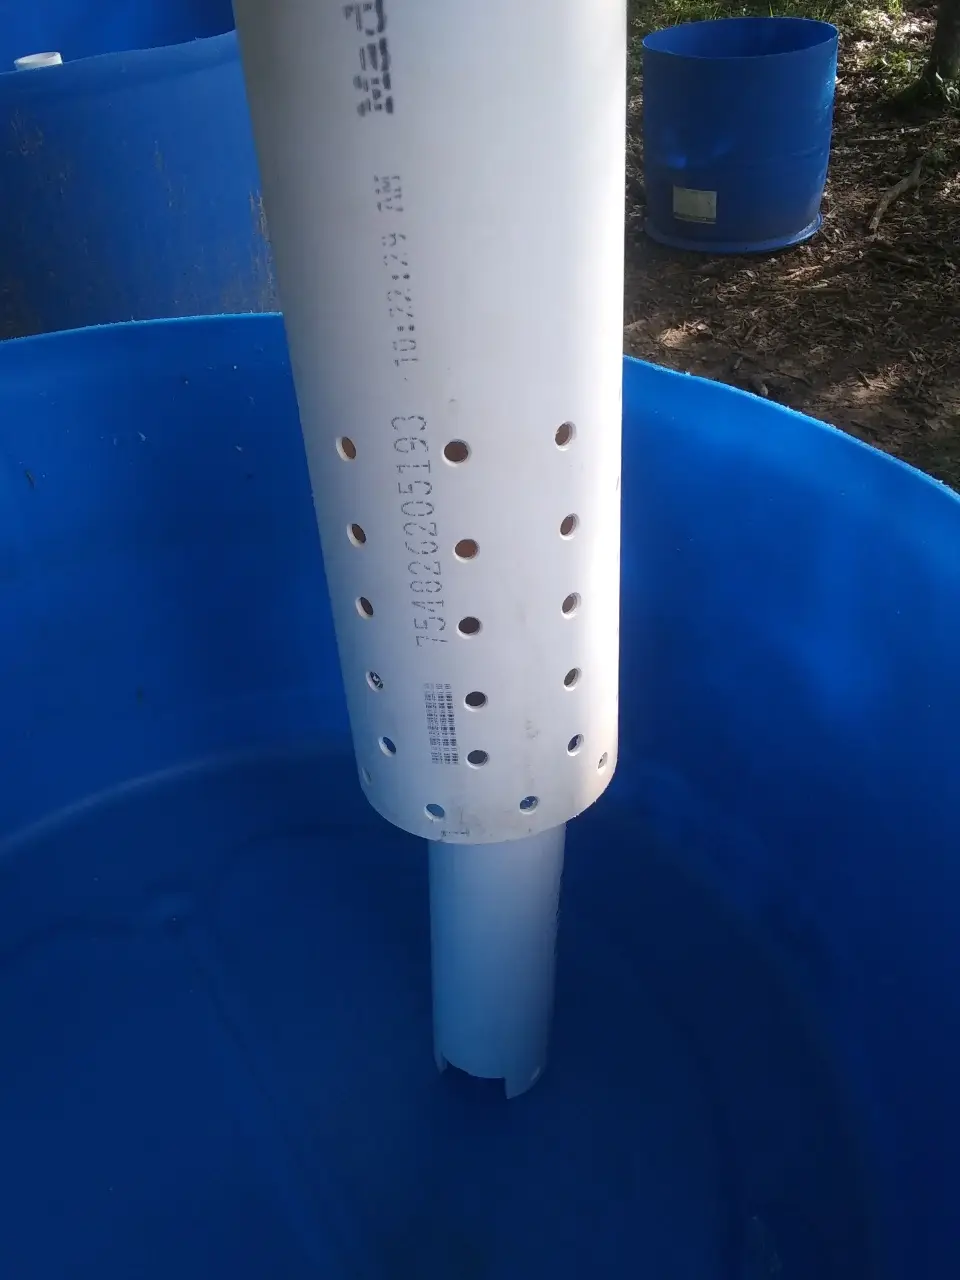
Fabricate the bell siphon shroud from 4” shedule 40 pvc. This will fit over the bell siphon cover. The bottom most edge of the cap (which is not glued) will sit above the top of the grow bed by at least one inch (the cap will need to be removed periodically). The holes are 5/16” and are drilled midway up the pipe all the way around. This will keep the grow bed medium out of the bell siphon yet allow water to pass through freely.
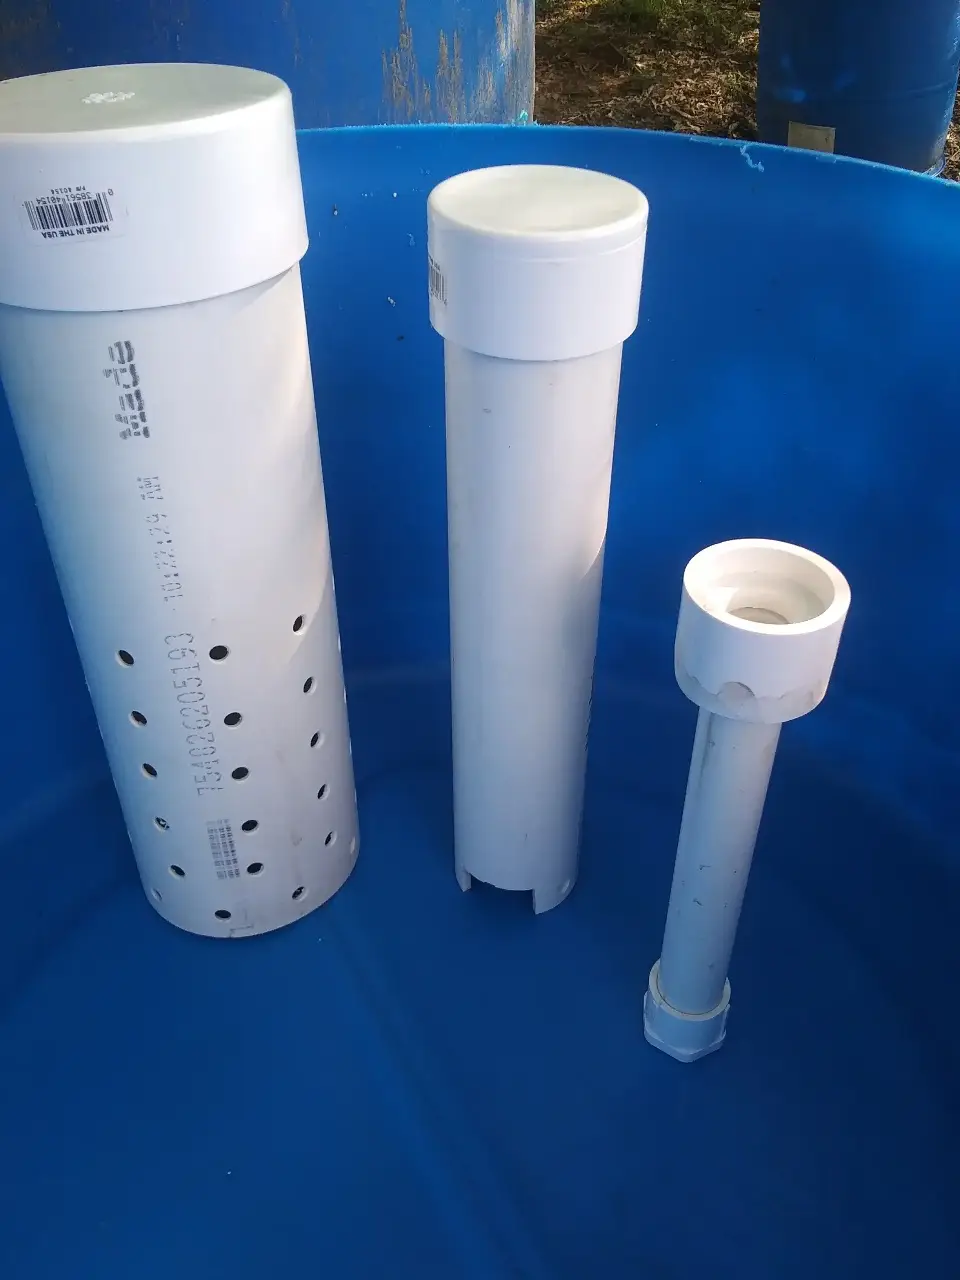
Above are the three parts of the bell siphon, which will stack on top of one another [from left to right: shroud, cover, bell siphon]. Both the shroud and the cover are simply set in place. The last part to fabricate is the bell siphon itself (far right in above picture). This part threads through a hole that is to be drilled in the bottom of the grow bed. The bell siphon is constructed from a section of 3/4” schedule 40 pvc with a male thread on the end (this goes through the bottom of the grow bed), and a 1 1/2” to 3/4” bushing topside. Both fittings need to be glued. Size the hole in the bottom of the grow bed so that the bell siphon’s threads screw into it. Screw a 3/4” threaded to 3/4” slip coupling on from the bottom of the grow bed to hold it in nice and strong.
The bell siphon functions using the same principle as a toilet does when it is flushed. The pump runs constantly, filling the grow bed with water sourced from the fish tank. When the water level in the grow bed rises to the top of the bell siphon, it begins to roll over the bushing at the top, and down the 3/4” pipe draining rapidly back to the fish tank. As soon as water fills the 3/4” pipe, a siphon is created that quite expediently drains the grow bed (just like flushing a toilet). Since water can only enter the bell siphon via the notches cut into the bottom of the cover, it will drain until the water level reaches the uppermost part of the notches, and then the siphon will “break”, allowing the grow bed to begin filling again as the cycle repeats. The flow rate of the pump sets the time for draining and filling, and is a parameter that must be given some thought. This system works like a clock, filling & flushing the grow bed in a precisely timed manner.
The polycarbonate viewing window is installed from the inside using #10 stainless steel machine screws, flat washers, and lock washers. 100% silicone caulk is applied liberally to the polycarbanate before it is mated to the barrel, and also as a bead around both the inside and outside edge of the viewing window after installation. The window must be sealed very well as it will be prone to leakage.
Use a 4” hole saw (or larger) to cut holes in 4 places evenly spaced around the upper most part of the barrel. Make certain that your hand and elbow can fit through! These are access holes.
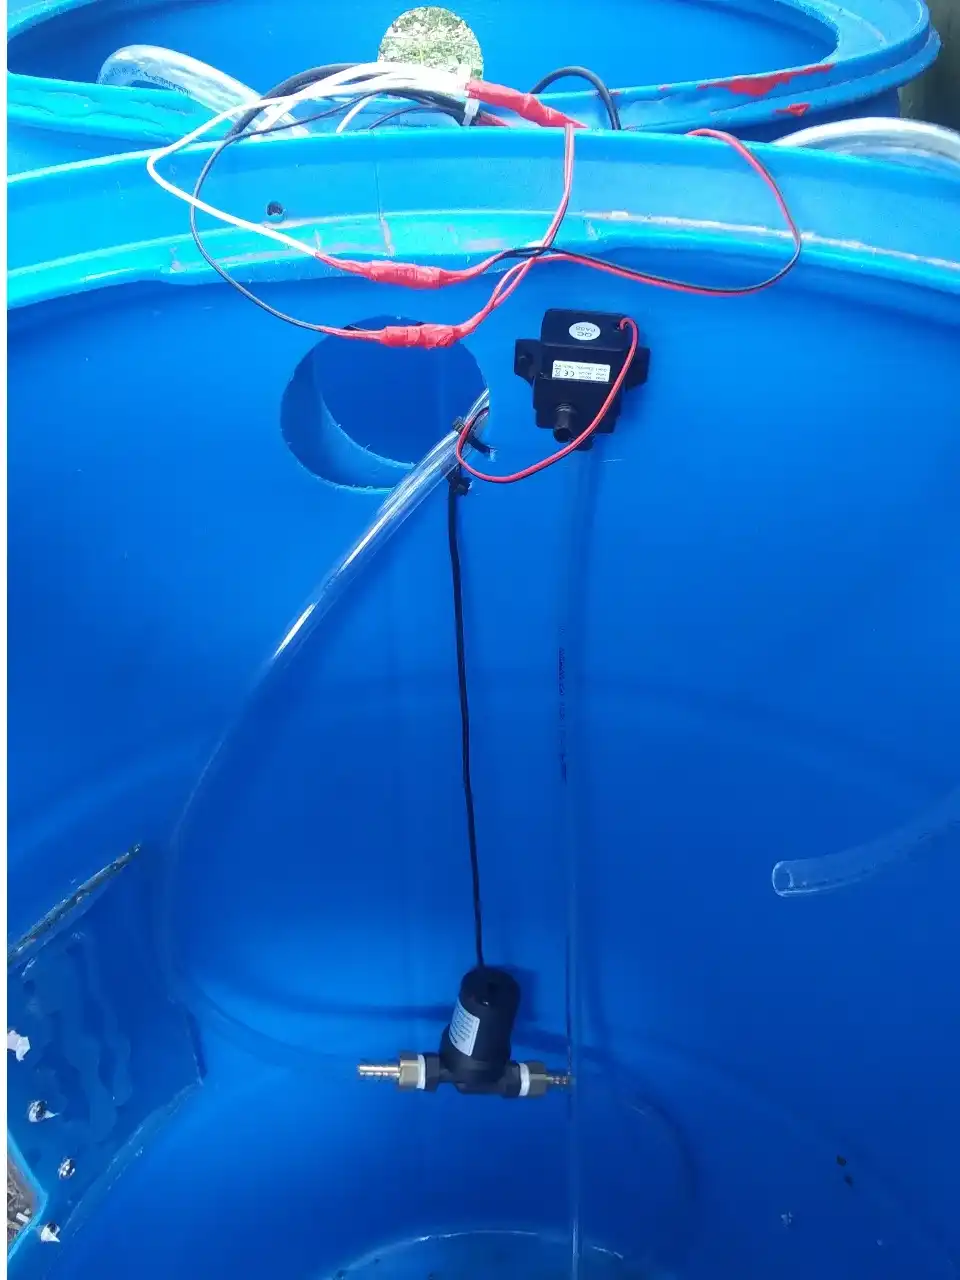
Suspend a continuous duty submersible pump of around 2 gallons per minute (a pump designed for in floor hydronic radiant heating works quite well, and can be purchased at a relatively low cost) a few inches above the bottom of the fish tank (Pump at lower part of the above picture. The pump at the upper part of the tank is an auxilary circulation pump that is not necessary). Rout the output from the pump using vinyl tubing through one of the access holes and out of the fish tank. The input side of the pump should be routed down to the bottom of the tank, and a shroud should be fabricated so fish don’t get stuck by suction (it will happen).
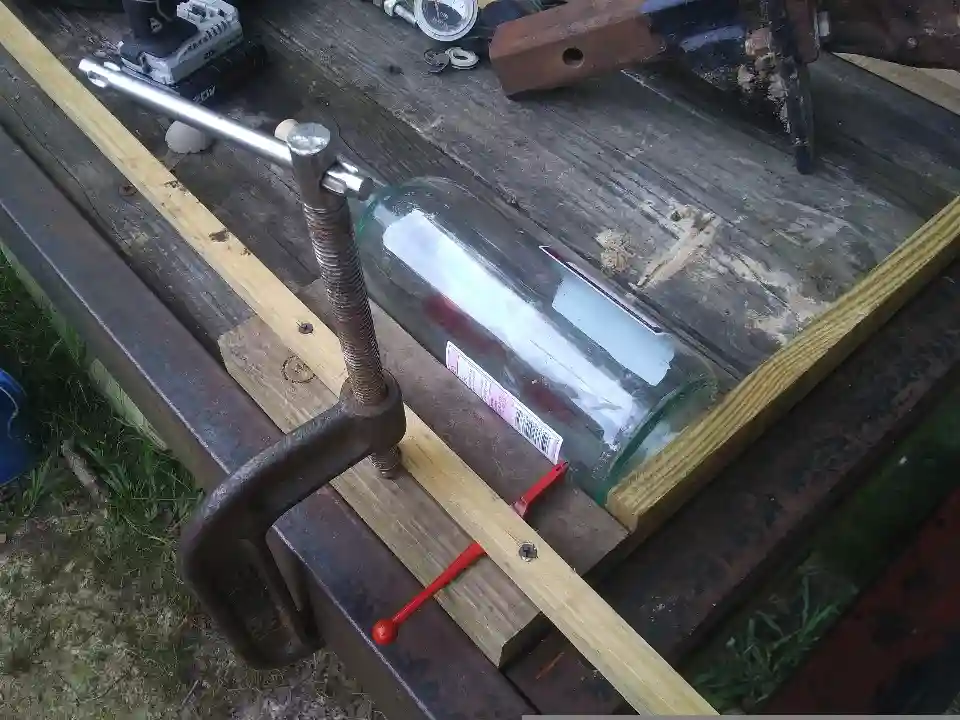
Prepare a jig to cut a wine bottle as in the above picture using a cheap glass cutting tool available at most hardware stores (red tool in the picture). You need to make a score that is square to the bottom of the wine bottle by spinning the bottle on a flat surface by hand. Score the bottle to facilitate removal of the bottom.
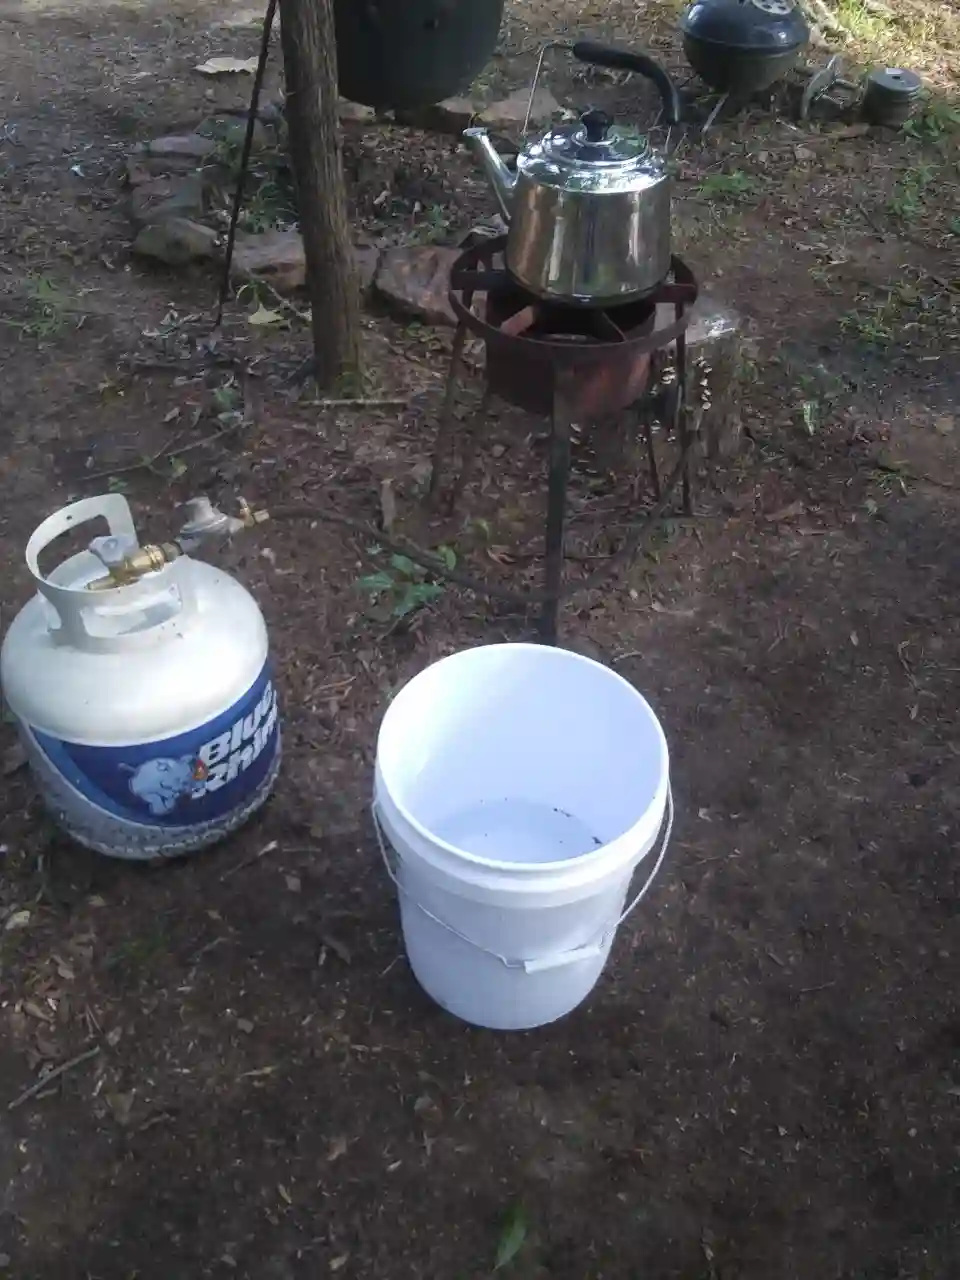
Boil a kettle of water, and fill a bucket with ice water.
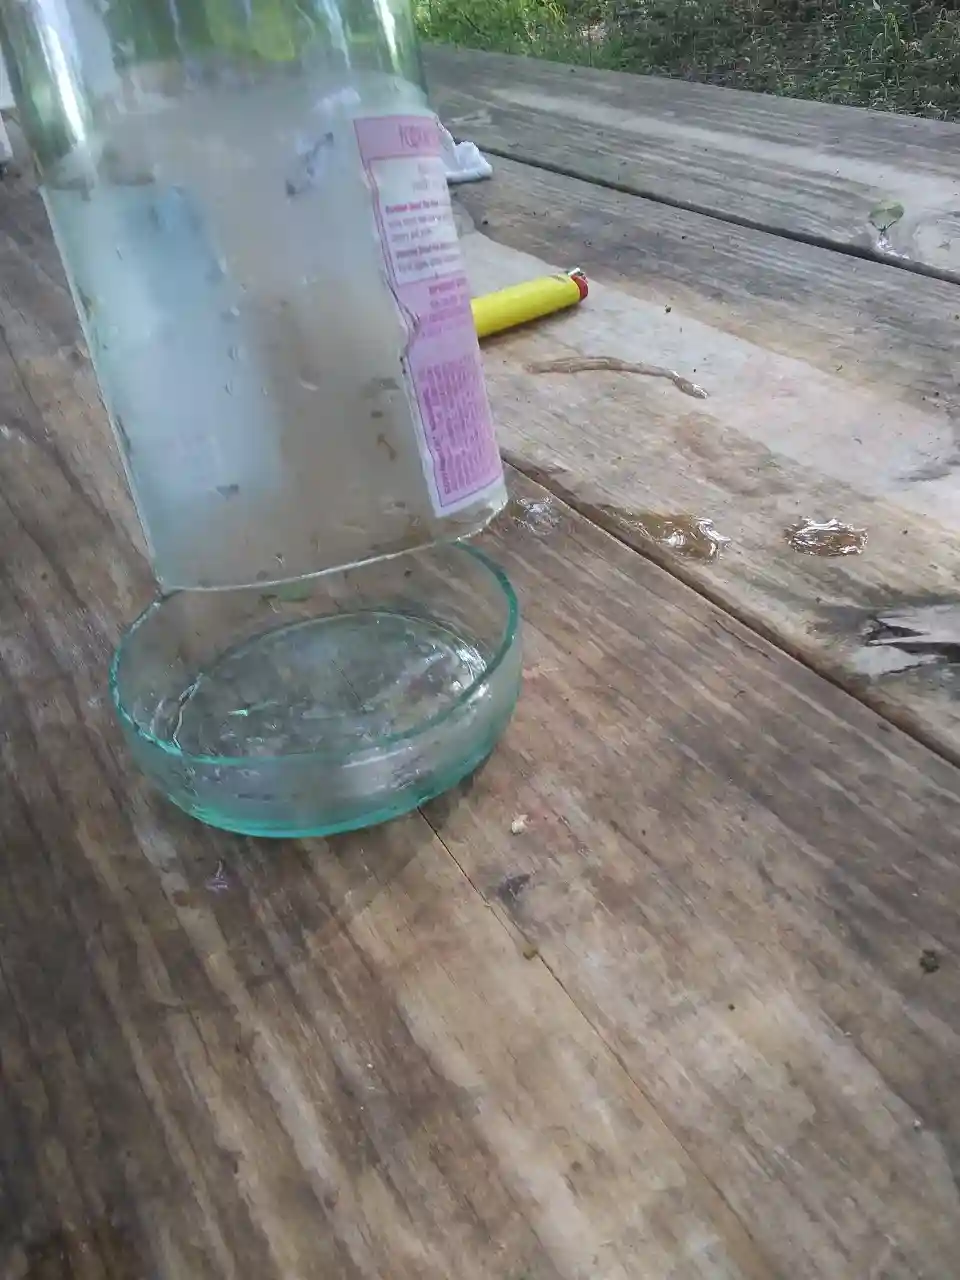
Carefully pour boiling water onto the score while turning the bottle. The goal is to heat the score, and not the rest of the bottle. Dip the bottom half of the bottle into the ice water, and if done correctly the bottom will fall off at the score. The cut surface can be sanded to a nice, neat finish that won’t cut you. We recommend not holding the sand paper in your hand to reduce the risk of cutting yourself. Rather, use a sanding block or rotary/orbital type sander. Get creative and protect your flesh from the cut edge in whatever way you can. If using a rotary/orbital sander, protect yourself from breathing glass particulates (dust mask or respirator) as well as accumulating glass particulates on your skin (might not feel so great later). Suitable gloves are a must throughout the entire process, safety glasses would be a wise precaution!
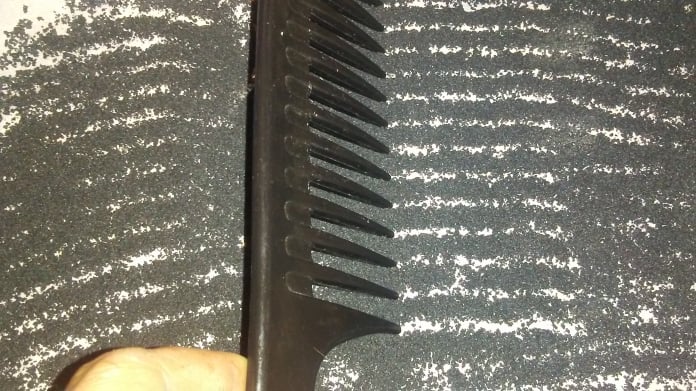
Cut a notch lengthwise in a cork (synthetic corks work best). The notch should take up about 1/3 of the corks circumference and be shaped like a birds mouth (the full length of the cork). Insert the cork and mount the bottle with the cork a couple inches above the top of the grow bed. Rout the vinyl tube from the output of the submersible pump into the bottle and install a plastic 90° elbow on the end. Angle the elbow to the inside wall of the bottle so as to create a whirlpool when the pump is pressurized. The whirlpool should be set to go counter clockwise in the northern hemisphere, and clockwise in the southern hemisphere. This setup is called a hydronic cyclonic vortex, and it’s purpose is to aerate the water. We have found the hydronic cyclonic vortex to do a significantly better job at this than a venturi, although venturi aeration is still a viable option and is relatively simple to fabricate. A major advantage to the hydronic cyclonic vortex is that it does not tax the pump in any way because it never has to build pressure to function.
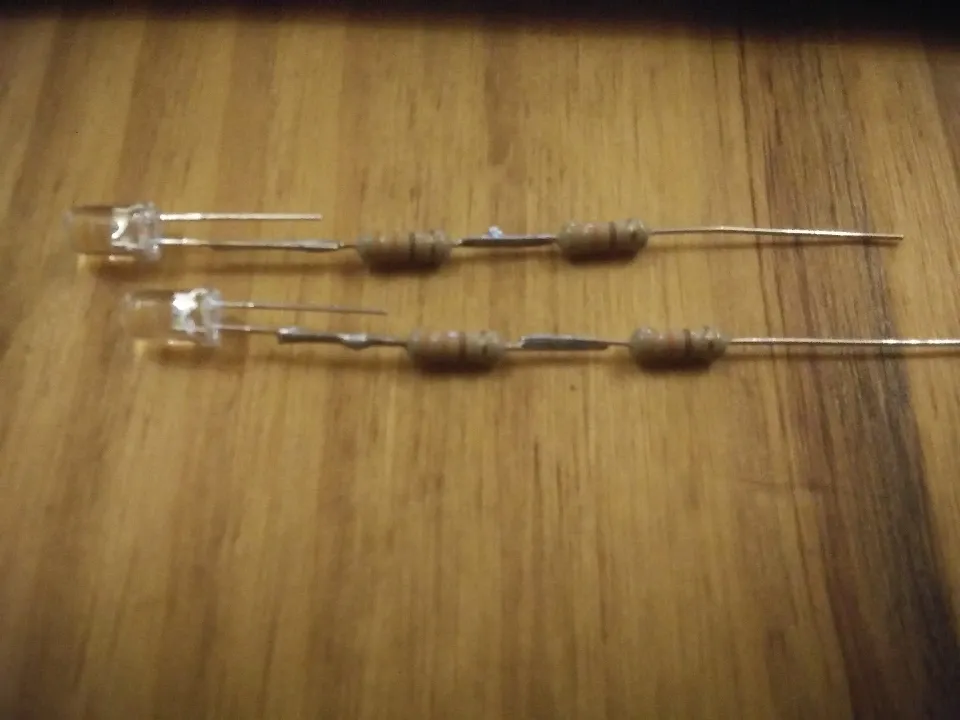
A submersible led light will attract insects to the tank at night to feed the fish. One can be purchased, or one can be hacked using a resistor, an led diode, a glass or clear plastic cigar tube, and some epoxy. The resistor must be matched to the diode and the input voltage (if you possess the skills to build this light, the resistor calculation will not pose any issue).
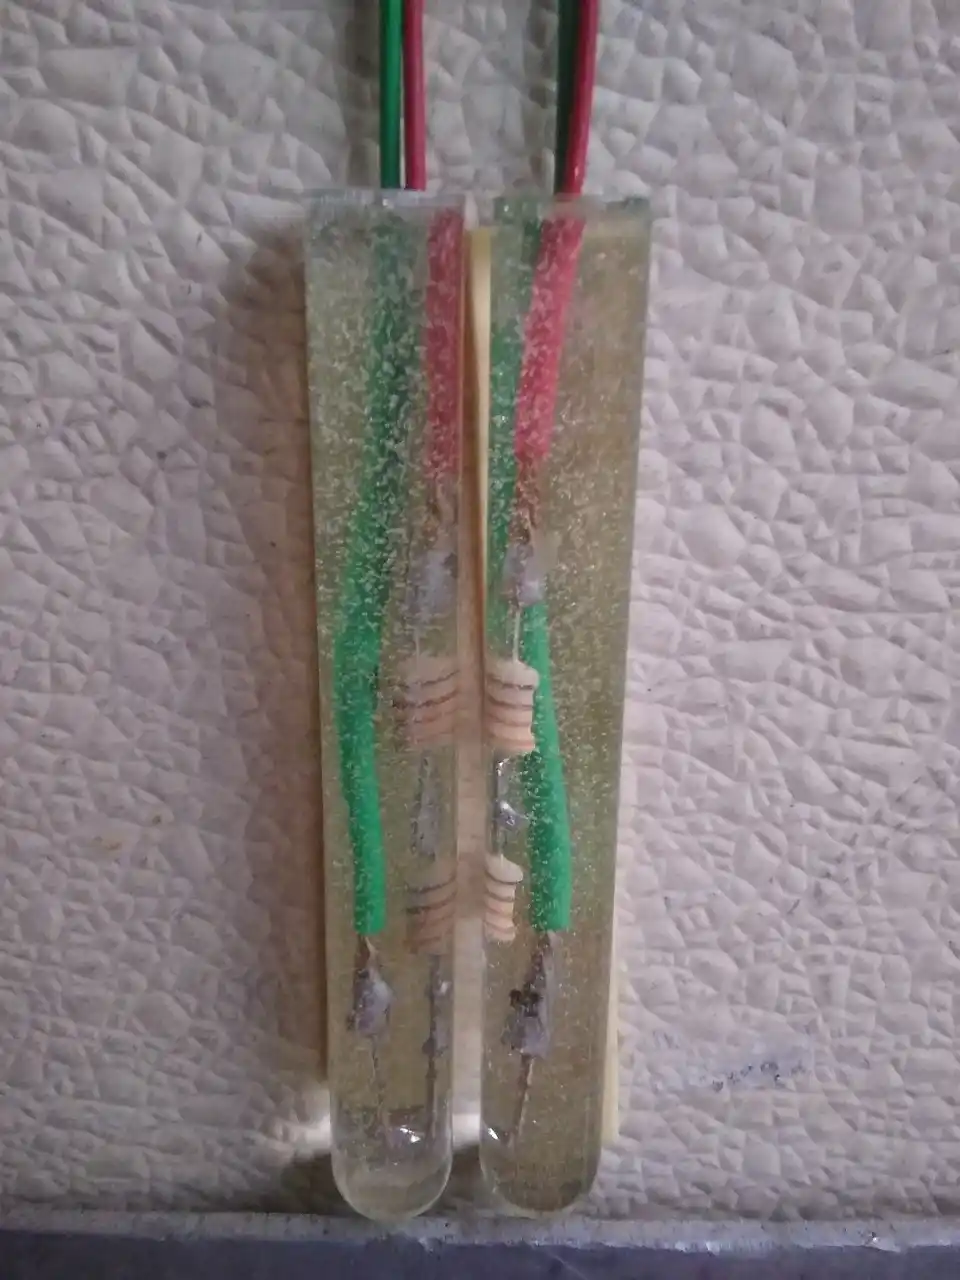
Insert the resistor and led diode into the tube and fill it with epoxy.
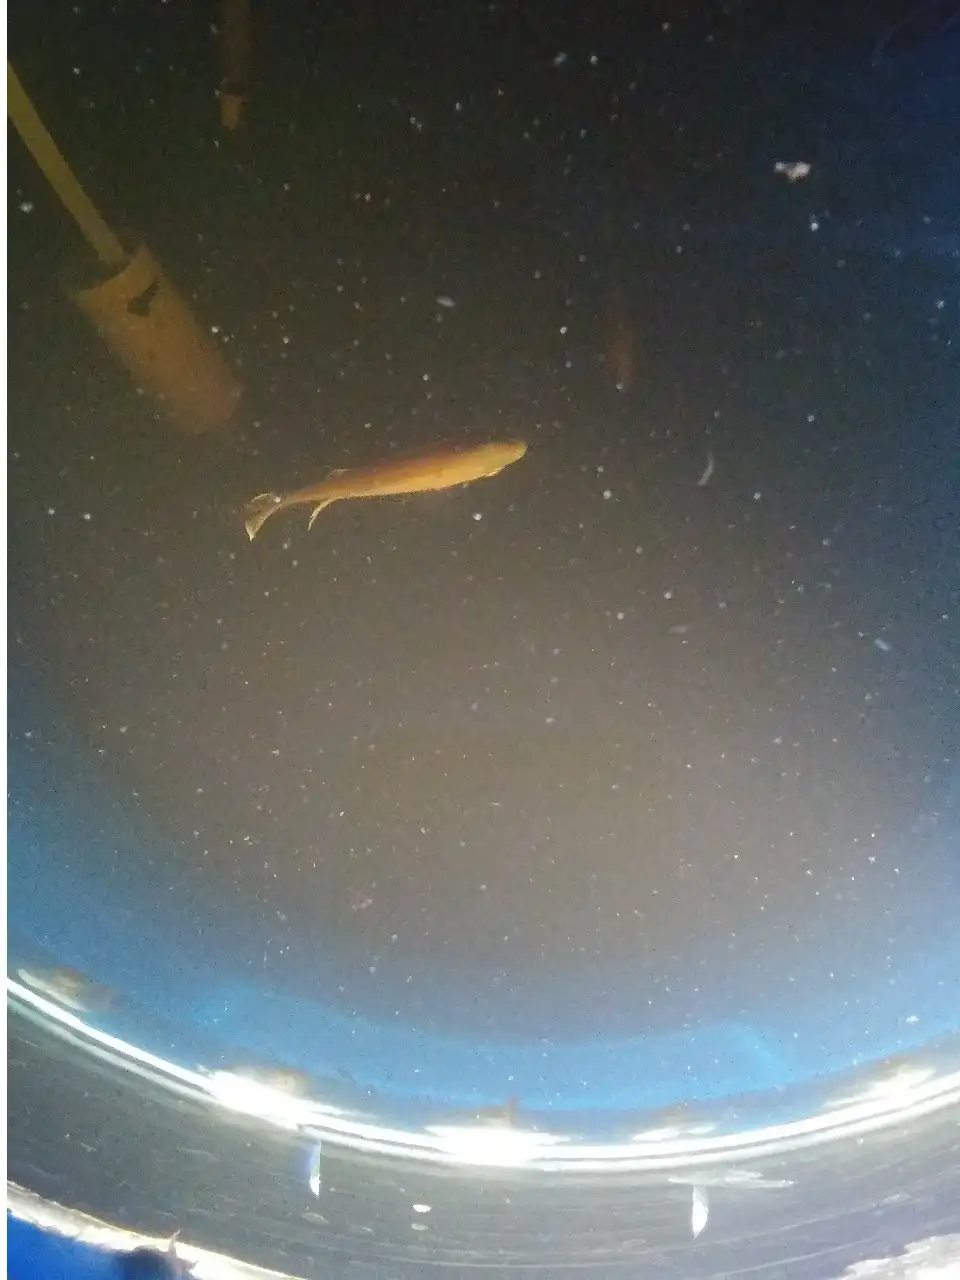
Fill the fish tank with non-chlorinated water and stock with fish. Take a water sample at this time (one pint will be more than enough). This will be used to record a starting point for monitoring progress in the cycling process.
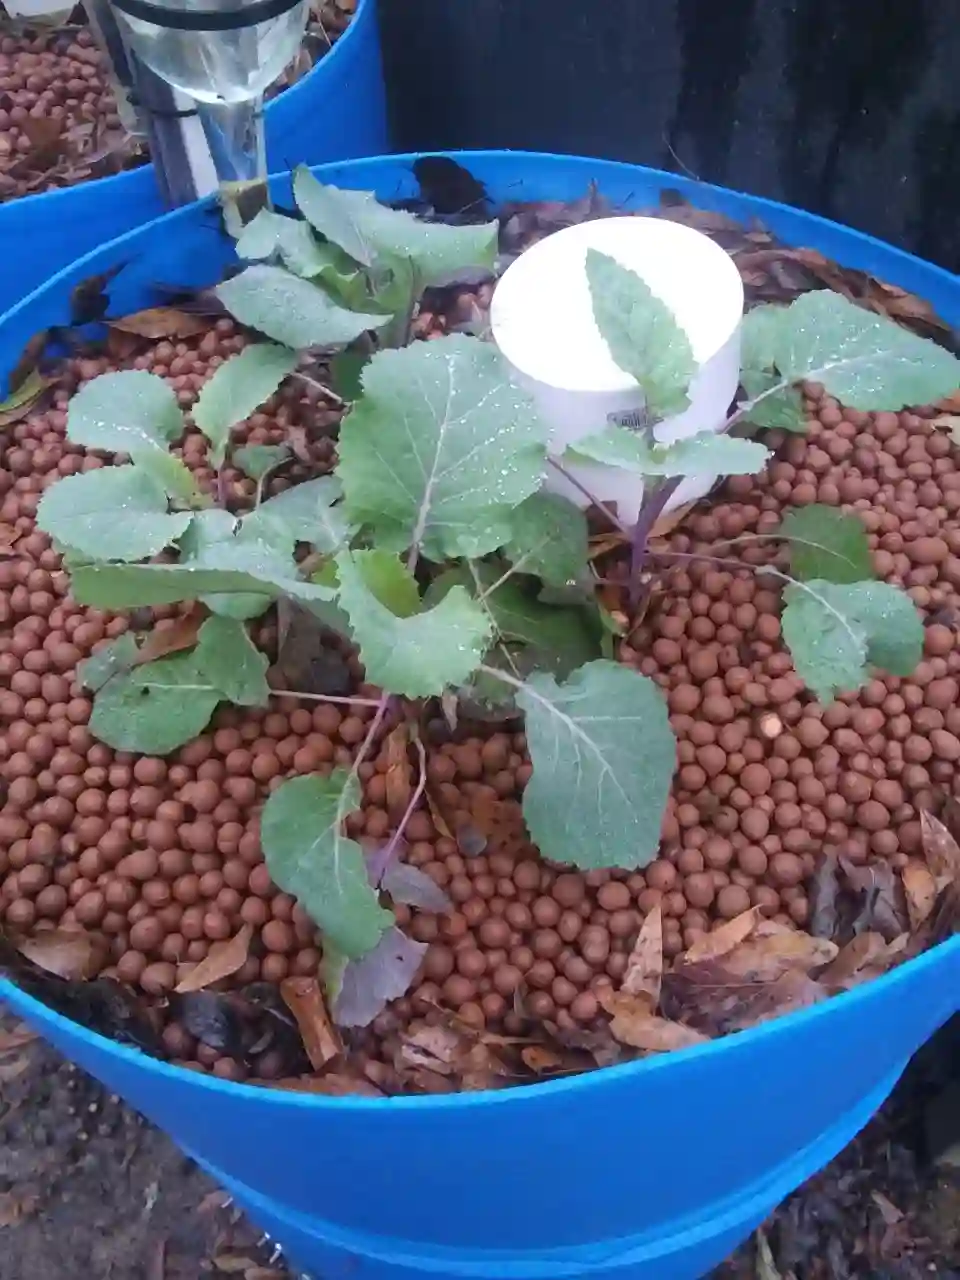
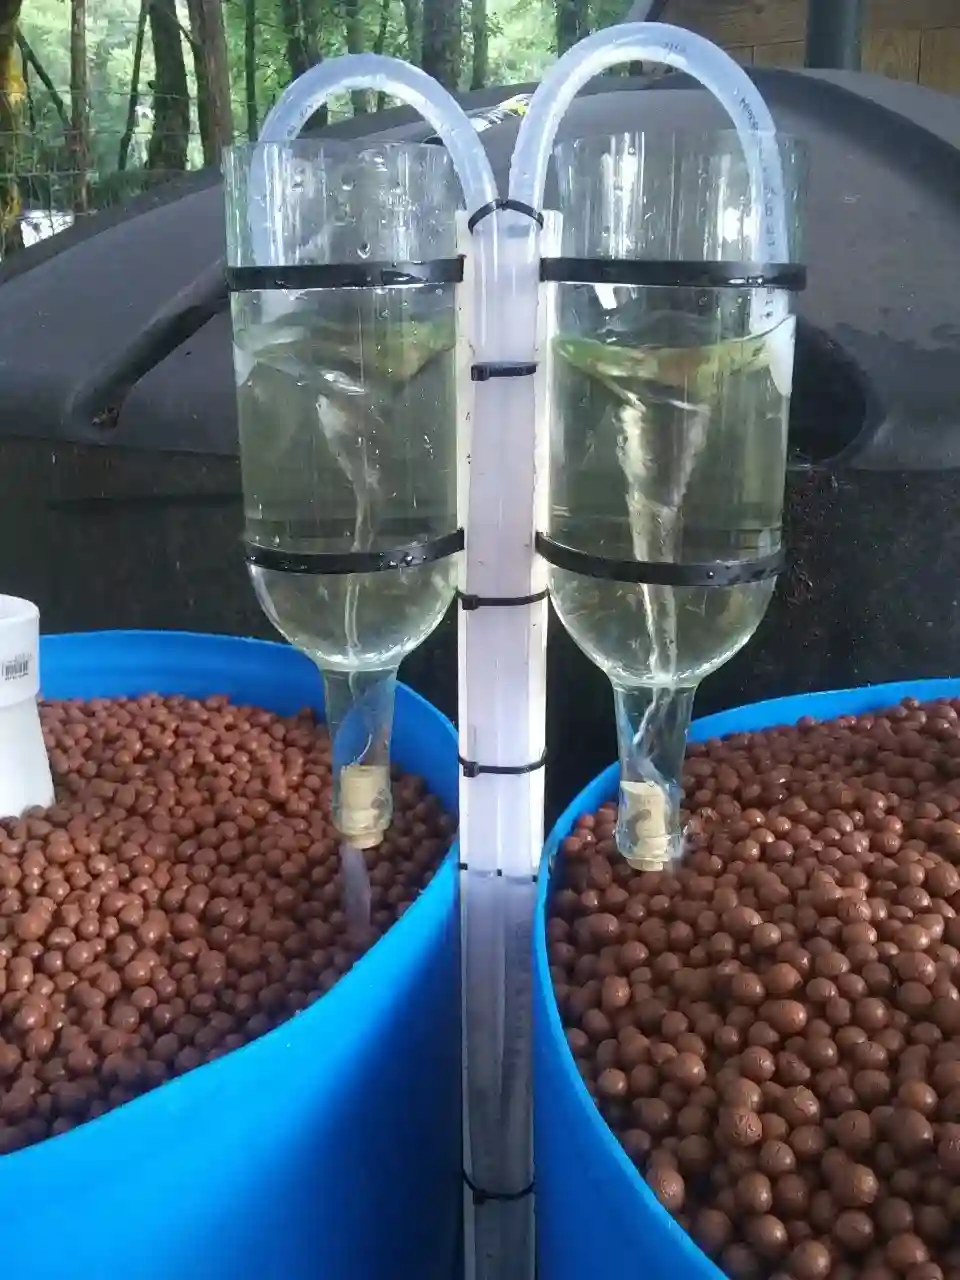
Fill the grow bed with expanded clay pebbles that have been soaked in water for a few days. Wait to install any plants until the system has cycled (more on that later).
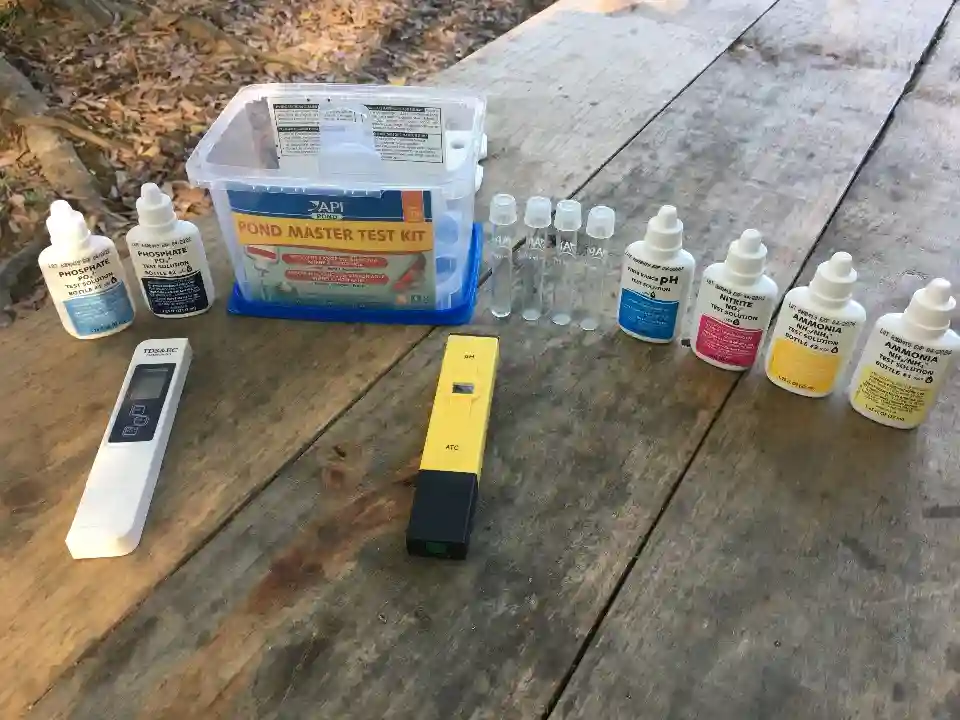
Aquaponics is all about water testing. The API test kit is a great buy, but others exist and certainly over time brands will change. The test kit contains chemicals for testing phosphate, PH, nitrite, and ammonia. It is a relatively simplistic chemistry set geared toward testing pond water. A digital PH meter is nice to have as well.
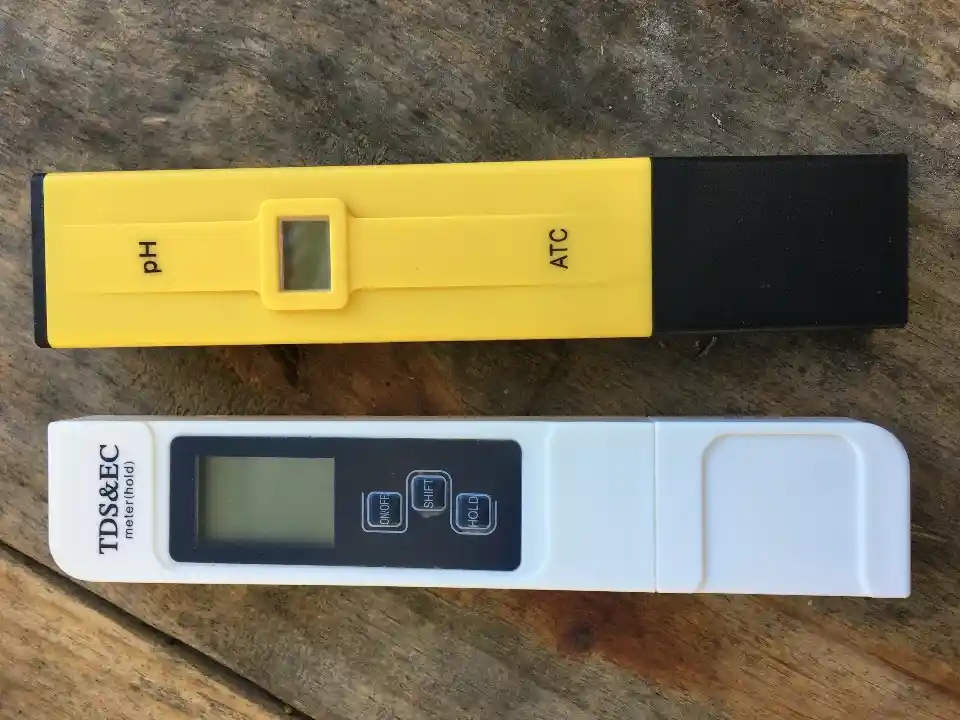
Testing PH using chemistry is highly accurate, but the digital meter is quick and easy to use, and accurate so long as it remains calibrated. It’s a good idea to test the digital meter against chemistry once in a while, and the meter should come with a calibration tool and a chemical solution to use for the calibration process.
A digital TDS/EC meter is not exactly a necessary instrument in aquaponics as it is in hydroponics, but it can give valuable insight at times and adds an extra flare to the learning process.
TDS, or total disolved solids, is a measurement of impurities in the water. In an aquaponics system these impurities make up the nutrients available to the plants in your grow bed. The TDS measurement however, is not a very accurate reading due to organic compounds that escape the testing method, as well as the fact that there is no way of telling exactly which compounds are present when the water is tested. That being said, we still recommend the use of a TDS meter, as valuable insight can occur at times.
EC, or electrical conductivity, is mainly useful to determine salt levels in the water, and is also sometimes used to determine TDS (albeit crudely in our opinion). Salts are not generally all that present in an aquaponics system (they are more so in hydroponic systems), but salts are used to treat fish for diseases and such. Most freshwater fish can handle fairly high levels of salts without harming them, but most edible plants cannot. A high EC can sometimes be an indicator of an imbalance in the system, and therefore measurement of EC is useful at times. We recommend an EC meter as one can be had for a relatively cheap price and it will add to the learning experience overall.
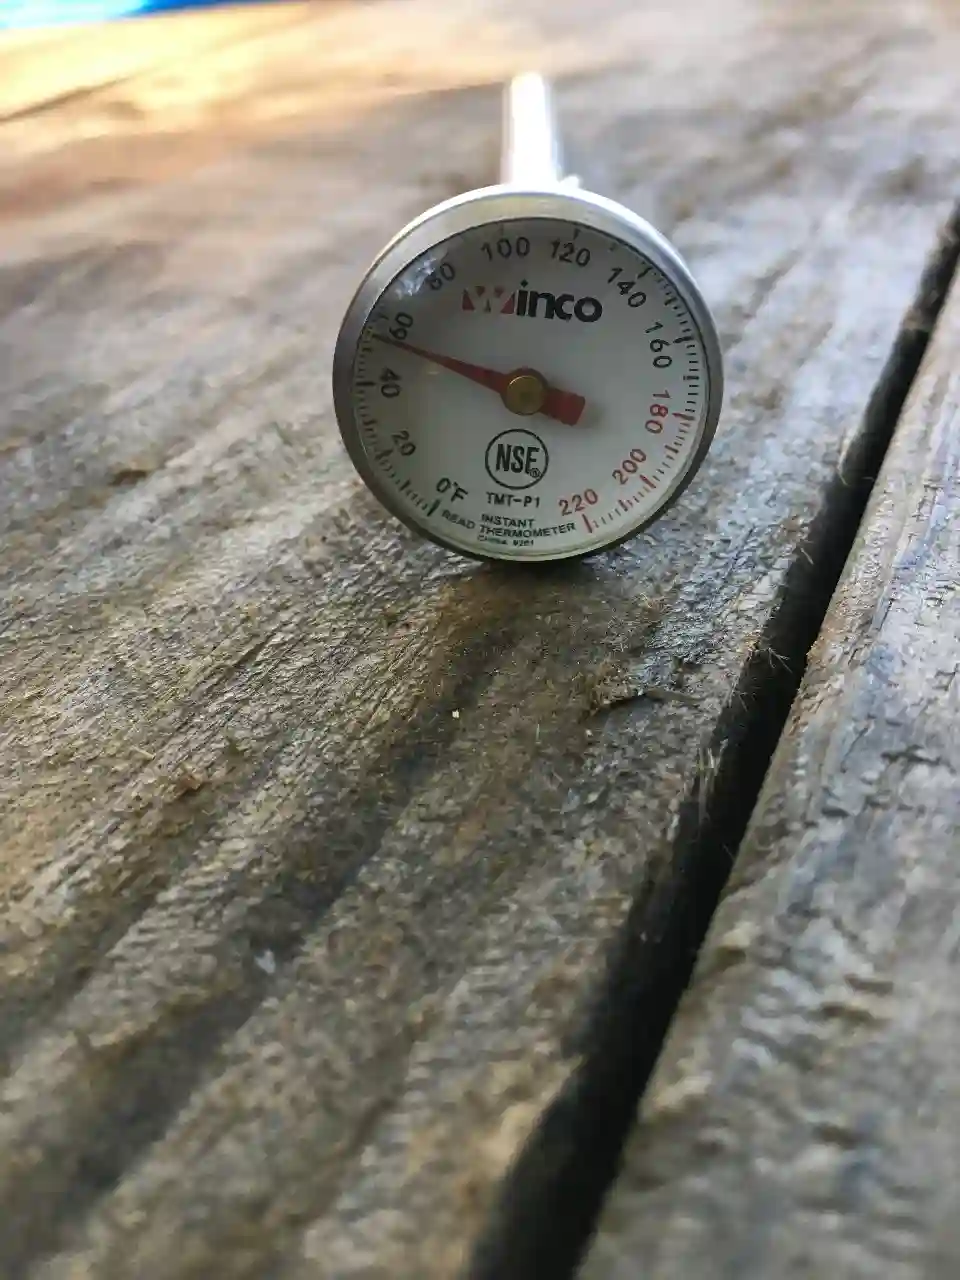
A thermometer is an absolute necessity. Although many PH, TDS, and EC meters have integral thermometers, it’s a good idea in any scientific experiment to have a trusty analog device as well for double checking. A combination of chemistry, digital technology, and analog metering hopefully insures a relatively high degree of accuracy.
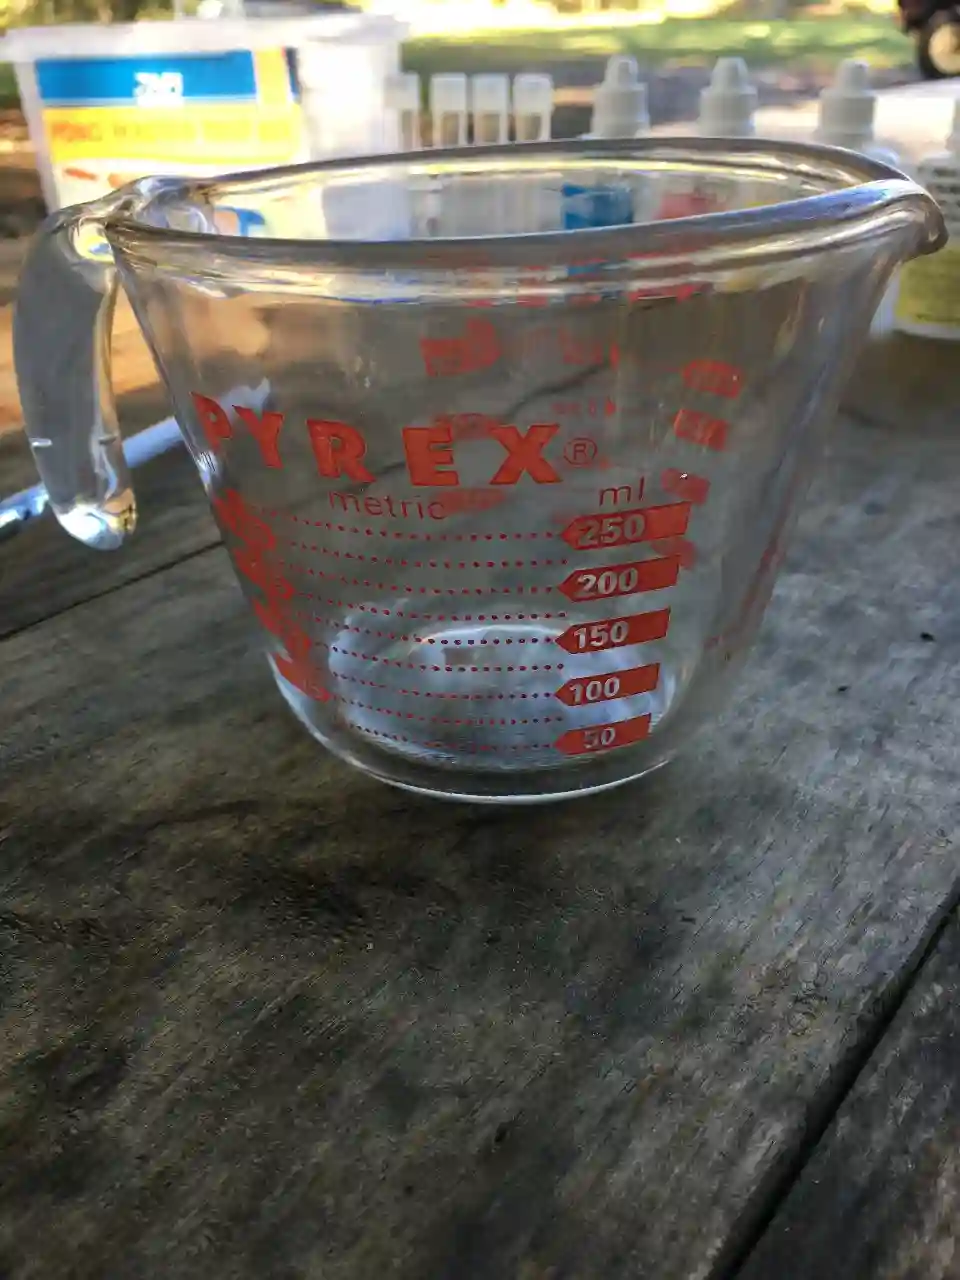
Any clean glass vessel will do for water sampling, but one with measurements is nice, and a spout for pouring is an even better attribute.
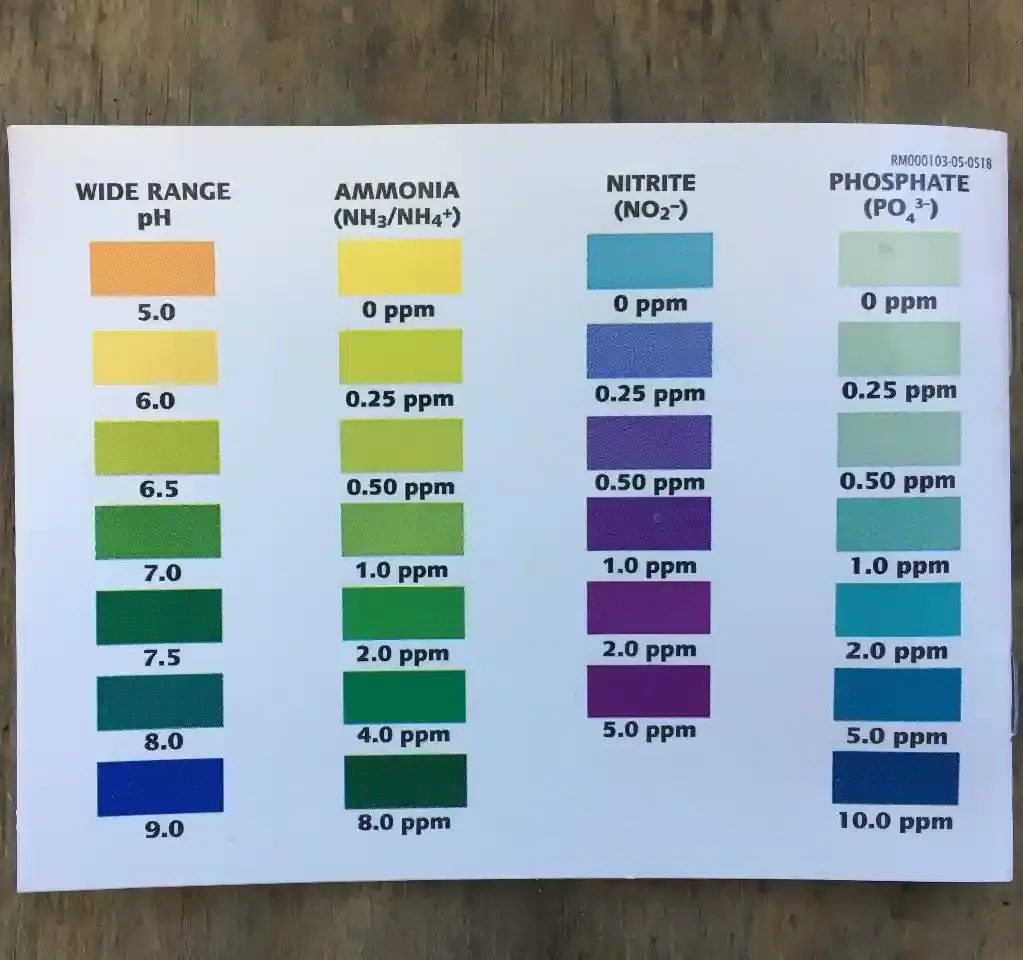
The water testing chemistry set or kit that you end up with will have instructions. The bottom line is that after following the instructions, the color of the fluid in the test tube is gauged against a chart and a reading is taken by eye. Be certain to take the reading in exemplary natural lighting and directly against a completely white background (this part is of utmost importance).
Learn how to make delicious, healthy acorn flour just as many early cultures did long ago. All you need is an oak tree of any variety to collect acorns from. Acorn flour imparts an earthy, organic flavor to bread, pastries, or any dish that regular flour is normally used for. From acorn dumplings to pie crust & loafs of bread, baking with acorn flour sets the stage for a truly natural, superb culinary experience. This is an activity for the whole family to do around the camp fire, or by yourself for a fun adventure.
$2.99
Get a comprehensive lesson in biology that will open doors to countless other areas of scientific study. Learn all about the complex chemistry that allows both plants & fish to thrive in a shared environment. Aquaponics is a hybrid farming technique that combines hydroponic growing of edible plants, with aquaculture by raising fish in a symbiotic condition. Produce your own health conscience meat & vegetables in an area as small as a big city apartment balcony!
$9.99
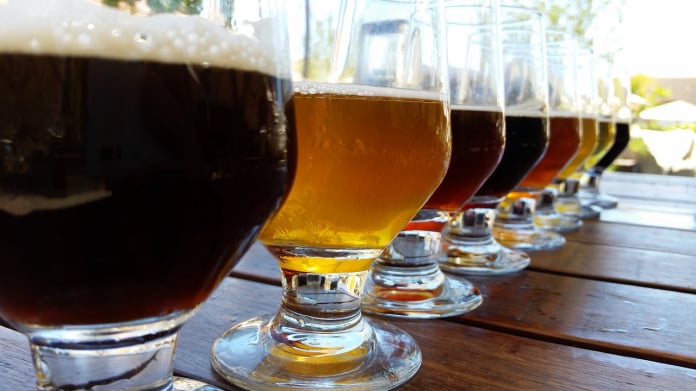
If you enjoy beer for more than just the buzz, making your own is quite a fulfilling hobby. If your interest is all about the buzz, you can have fun playing with the alcohol content while still maintaining an acceptable flavor. Grow your own hops (available on this site), & make beer with a unique "homebrew" flavor that can come only from something you did all by yourself. From connoisseur to novice, brewing your own beer is bound to spark a feeling of joy unrivaled by commercial products.
Physics & chemistry come together in an explosive way. This tutorial will introduce you to pyrotechnics in a truly backwoods manner. Learn to make black powder for use in muzzleloaders & fireworks. Build a simple model rocket engine from every day materials, or a road flare for emergency situations. The amount of information provided in this tutorial will blow your mind. We sure had a blast!
Whip up a batch of fresh butter in a jiffy. Multiple methods of producing butter at home are described in detail. With fresh milk, butter can be made in a vessel as simple as a canning or pickle jar. From churns to mixers, anyone can make fresh homemade butter with items you likely have at home already. This tutorial is a must for anyone who plans to milk a cow or goat.
$2.99
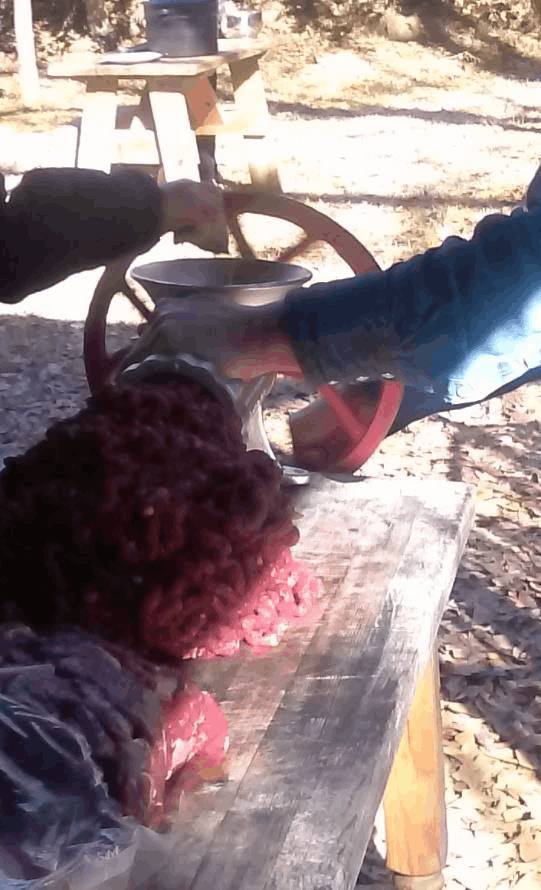
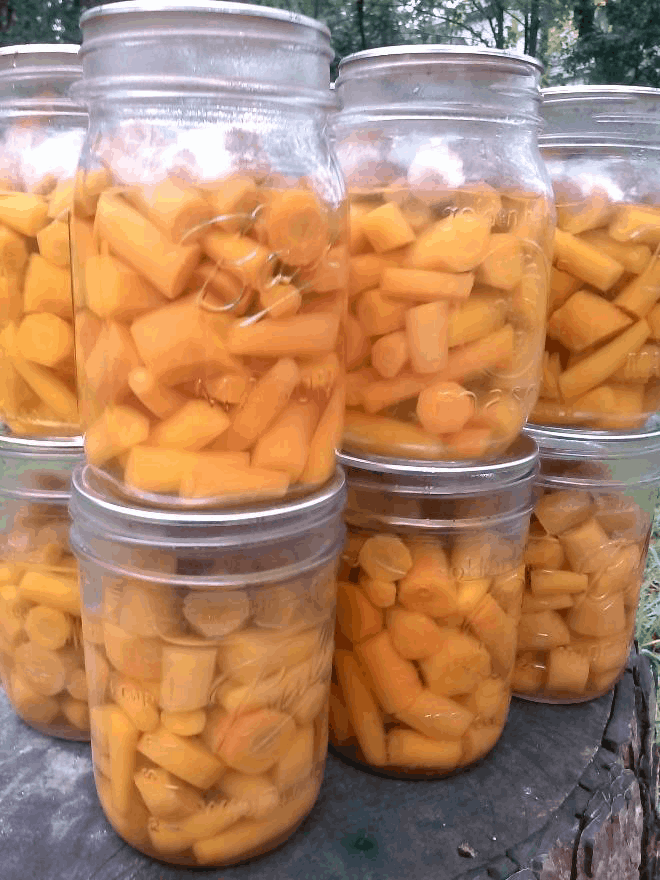
Roast, ground meat, fish, sausage links, bacon, chorizo, pepperoni & many more cuts of meat can be preserved for years by pressure canning, while still retaining all flavor & nutrients. This tutorial provides safe methods for pressure canning meats of all kinds. Canned meats are highly convenient for a quick, nutrient packed meal with no need for refrigeration (thus saving a lot of energy). Fill your pantry with more than just canned vegetables by learning the dying art of canning freshly harvested meat.
Preserve the gardens bounty, make delicious jam without the use of preservatives, & save the seasons fruit harvest by following the easy instructions in this tutorial.
12.99
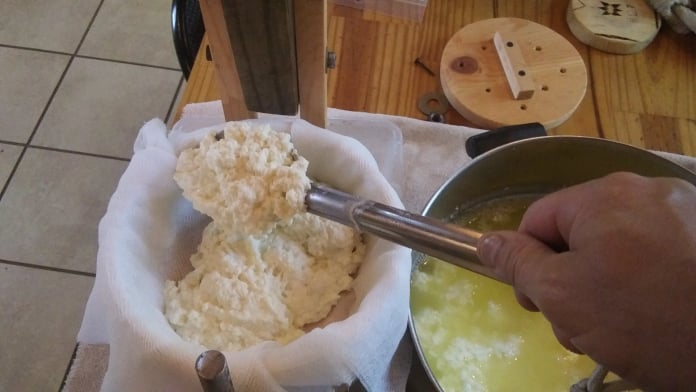
Learn to make all types of cheese from fresh milk. From cottage cheese to hard cheese, this tutorial will guide you down the path to perfection. Make cheese that can't melt for use in stir fry & baked or smoked foods. Build a hard cheese press from scratch, & much more.
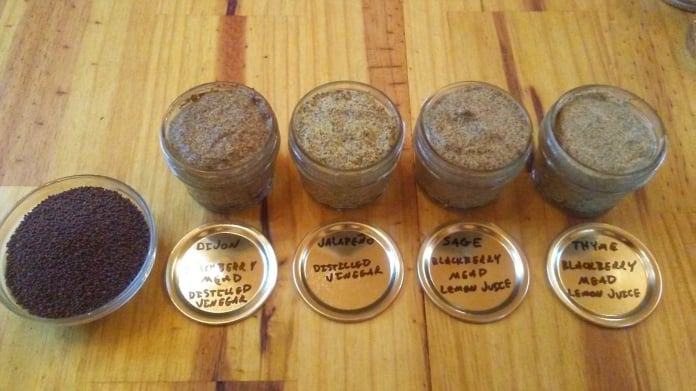
Making your own condiments is kind of the apex of self sufficiency, especially if you grow & produce your own ingredients. Learn to make mustard from home grown mustard seeds, turn your extra tomatoes into delectable ketchup & barbeque sauce, or delight your taste buds with mayonnaise made from your own eggs.

Cure meat the old fashioned way, without the use (or need for) artificial preservatives. From wet brine to dry curing & smoking, this tutorial contains many years of acquired knowledge in one condensed, easy to read document.
$9.99
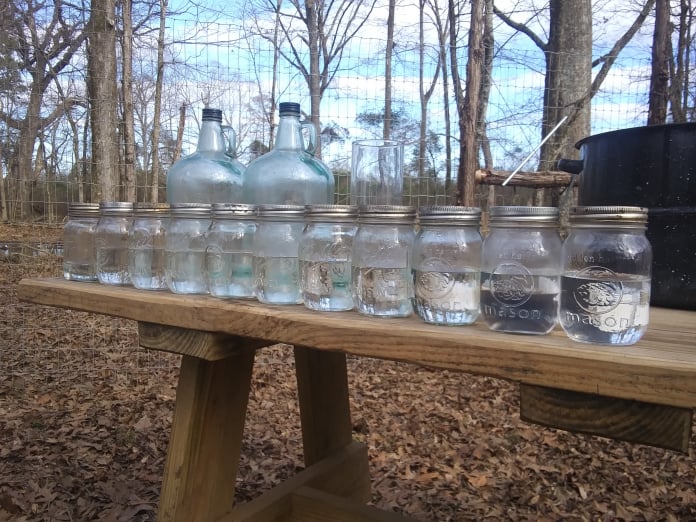
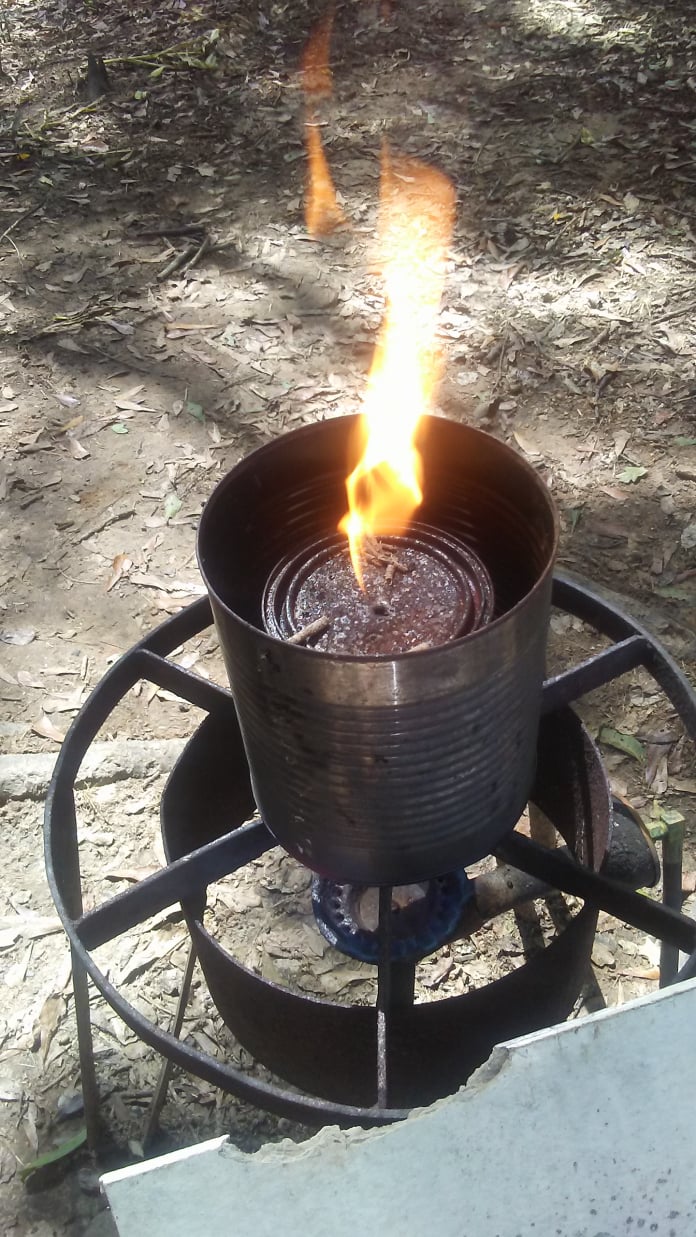
Come along on a trip to Missouri to learn the art of distilling high quality alcohol. Made from grains, berries, fruits, honey, potatoes or many other fermentable things found in nature, alcohol is a commodity that has far more uses than simply consuming. Power your garden tiller from distilled corn mash, fuel a cook stove, extract essential oils, or just get drunk. Just about everyone has a significant use for distilled alcohol even if they don't realize it.
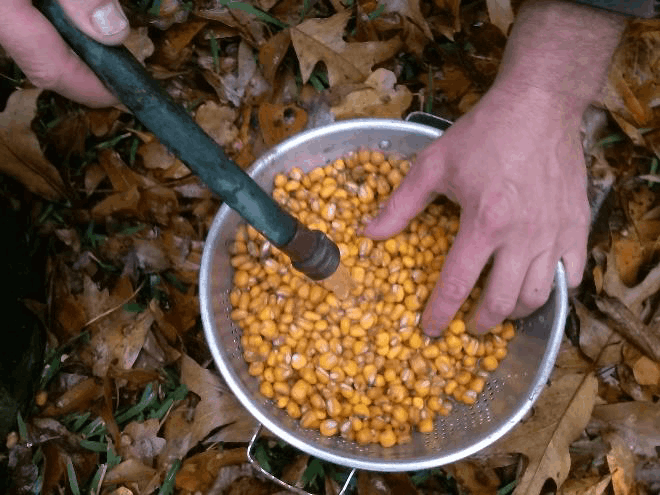
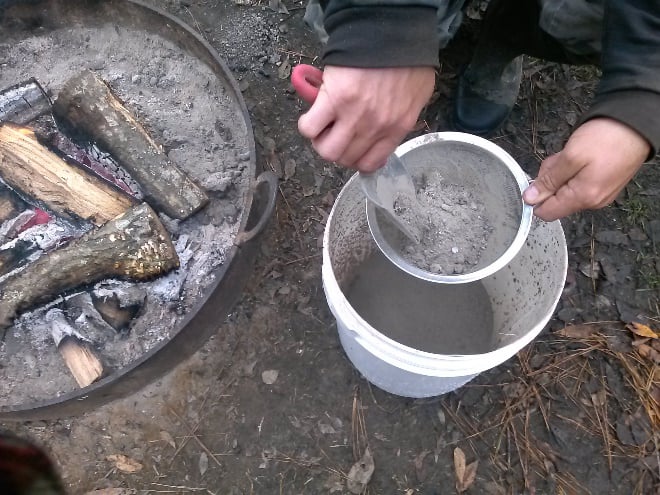
Hominy made the real old fashioned way. All you need is hardwood ashes, corn, & this tutorial. Make a large batch of hominy & pressure can it for future consumption. Homemade hominy is just plain unbeatable when it comes to flavor & consistency. WARNING: You will never eat store bought hominy again.
$2.99
Commercial cleansing products sold today which we call soap, are actually detergents. Detergents are harsh & may be harmful to the skin, especially if your skin is sensitive. Learn to make real soap by the process of saponification. All that is needed is some hardwood ashes, & meat fat or vegetable oil. This is a detailed instruction on the process of extracting lye from hardwood ash, as well as making naturally scented bar soap.
$3.99
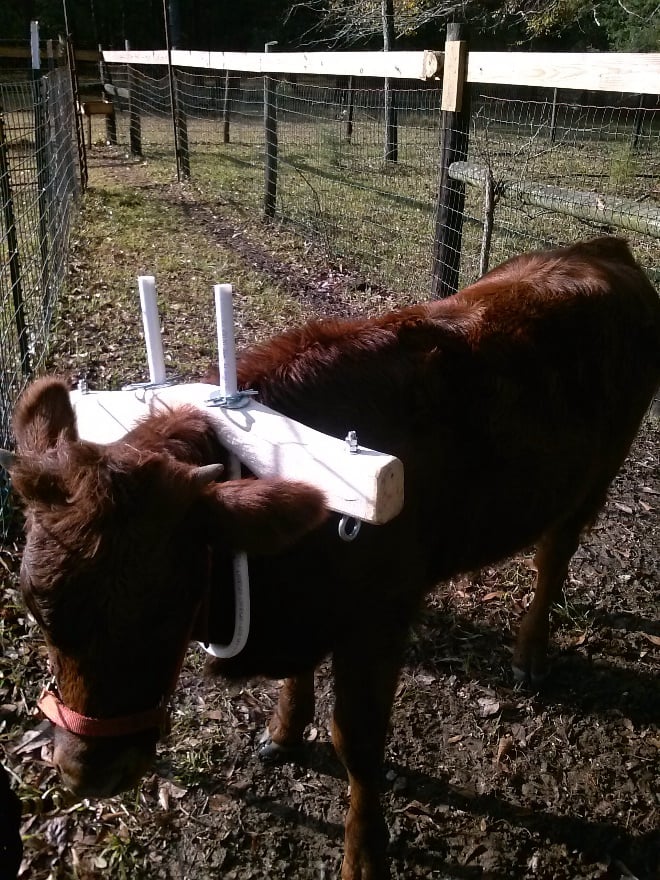
Over the years, draft power (animal driven) has all but disappeared in the public eye, but can actually be a viable alternative to tractor power for the homesteader. Follow one families adventure into ox power. Learn to fabricate a yoke & other necessary gear from easy to come by materials, & train a weanling steer to pull a plow, cart, or any other implement.
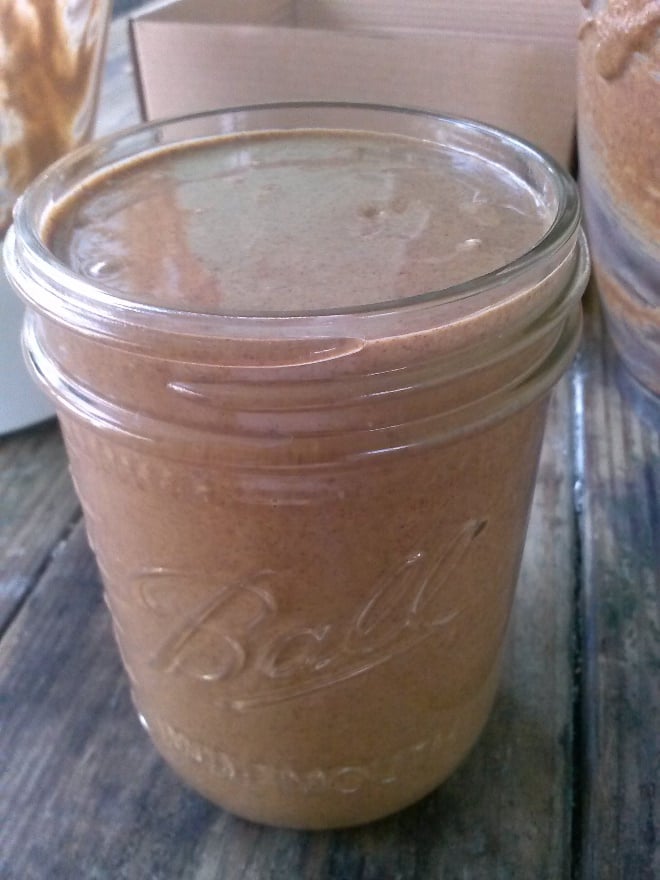
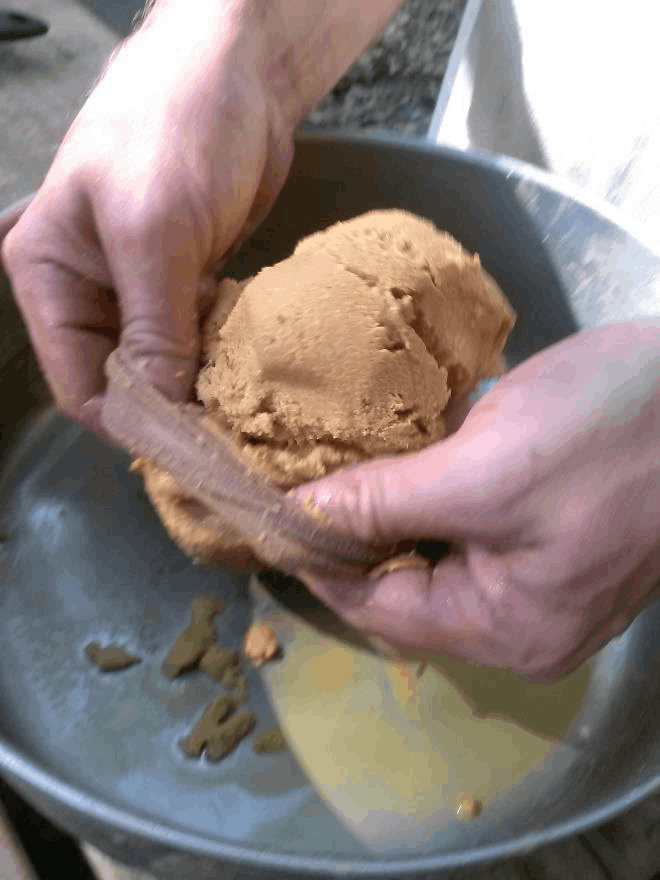
If you live in an area where you can grow peanuts or purchase raw peanuts, you are in for a treat. Making peanut butter at home will provide you with an entirely unique, divine culinary experience. Commercial peanut butter is kind of generic & bland, but the real thing is a far cry from that. The smooth yet grainy texture just screams natural, & the flavor is like an explosion of earthy goodness. All tools necessary are likely in your kitchen already.
$1.99
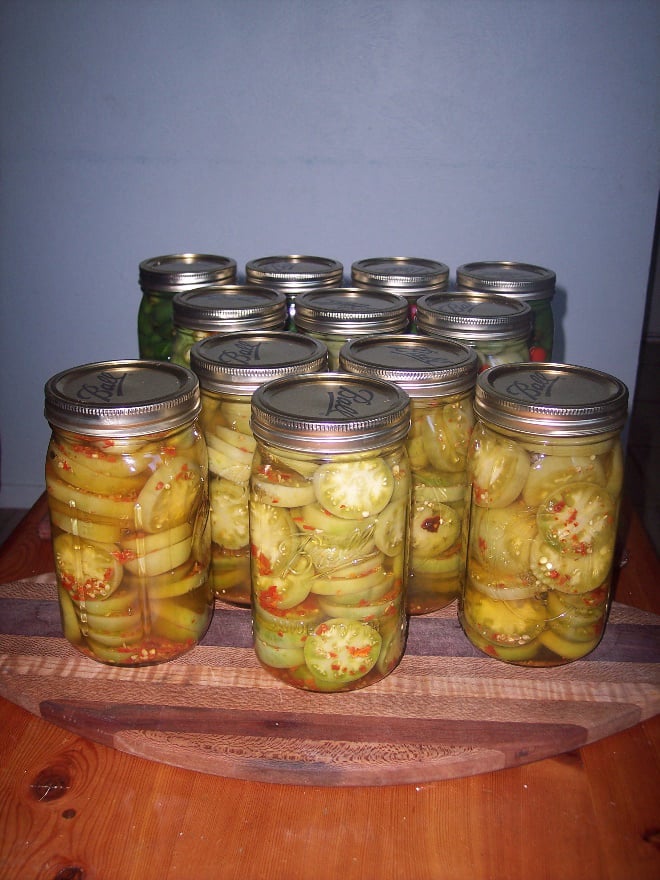
Pickling made easy. Just about any vegetable can be pickled. Minimal standard household kitchen utensils are necessary to transform your garden produce into tasty pickles that will last until the next harvest season.
$1.99
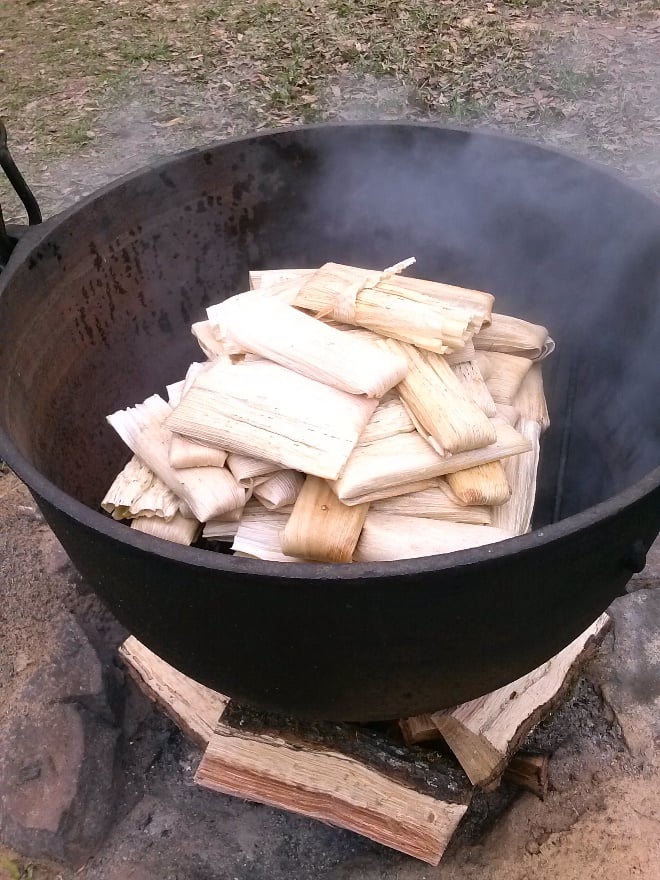
Meat, cheese, or even vegetables can be used to make excellent Mexican tamales. A basic kitchen (indoor or outdoor) has everything necessary. Unless you live in Mexico, "real" tamales are impossible to come by. By making your own, you can make them as authentic as you want, or get wild & experiment with different ingredients. Learn to steam tamales on a camp fire, or in an indoor kitchen.

Grow your own "mother of vinegar", which will provide a source of vinegar for as long as it is maintained by feeding alcohol. Vinegar is used in so many ways. From food, to cleaner & even a natural herbicide, vinegar has been used by man for eons. For health conscience folks & connoisseurs of fine food alike, making your own vinegar is definitely a venture worth the minimal effort. Give it a try.
$1.99
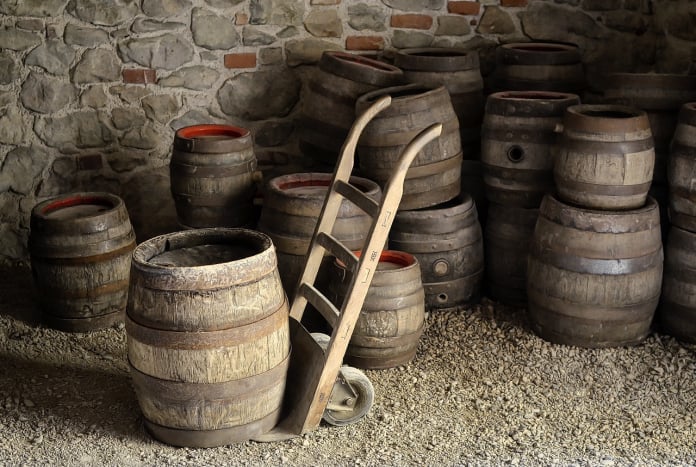
Become an amateur vintner in no time. Winemaking is an art that has captured the hearts of individuals from every continent, every race, every background, & in every era recorded in history. Learn all about the chemistry involved (it might even spark a new interest in chemistry), & embark upon an incredible adventure that is certain to be fulfilling.
$10.99
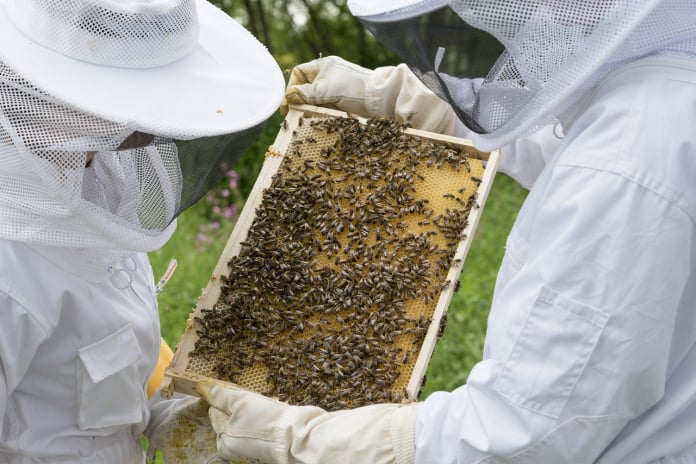
An introduction to backyard beekeeping, & an adventure into the wonderful world of entomology. Set up your own apiary & harvest fresh, clean, healthy, super local honey. Beekeeping is an excellent hobby to involve the kids in. Learn everything from the complex behavioral patterns of bees, to the rapid seasonal changes of the flowering plants from which bees harvest nectar & pollen.
Using common materials, learn to make superior quality charcoal at home. If you make black powder, this is a must due to the necessity for extreme high quality. Turn red wine vinegar clear with a pinch of bone charcoal, or make "bone black", the worlds darkest black artist paint. Discover the incredible science & art involved in the manufacture of something most would take for granted.
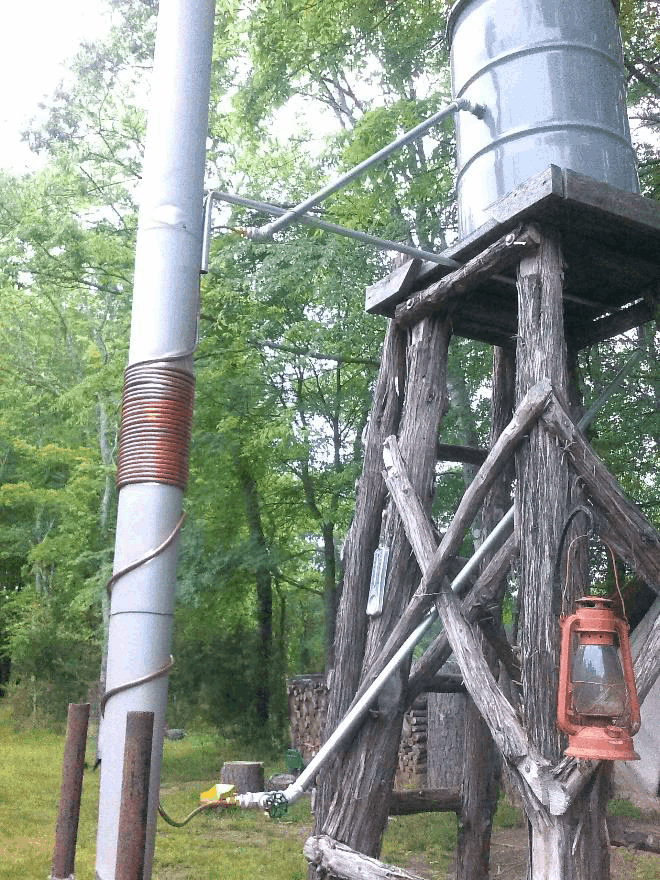
Build a wood fired hot water heater/boiler that requires no electricity. Hot showers & dish water are extremely important commodities in a remote location, & this heater design fits the bill just perfectly. Also use as a boiler for hydronic radiant heating in a home or greenhouse. Detailed instruction as well as a conceptual tutorial on the dynamics of thermosiphons.

Cast your own fishing weights, jig & spinner bodies, & bullets with minimal equipment. Embark upon a journey into metallurgy. Use foam to sculpt any object you wish to cast, & cast it in sifted ashes from the fire. Recycle used wheel weights or battery cores & turn them into new, useful products.
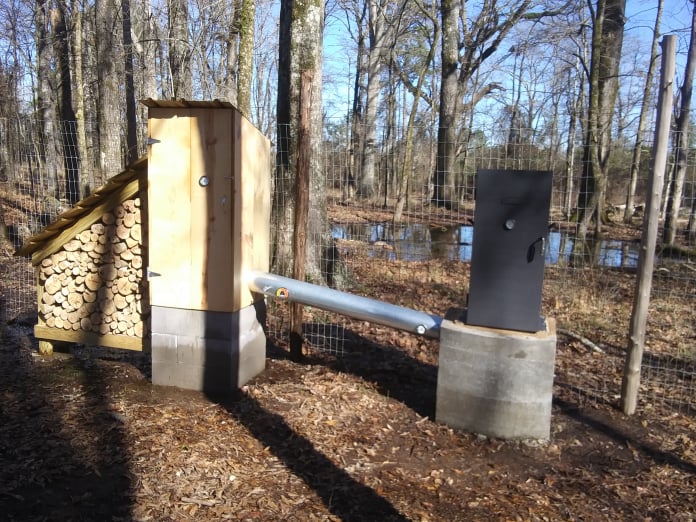
Build a cold smokehouse to preserve the seasons bounty. Learn the "old" art of smoke curing & the design concepts of a cold smokehouse.
We work hard & can't always get to the phone, so leave us a message & we will call back as soon as possible.