
Getting Started
A water bath canner with a rack inside to keep jars from touching the bottom is needed for processing high acid foods. These are readily available at brick & mortar stores & online marketplaces for $20usd or less.
A water bath canner with a rack inside to keep jars from touching the bottom is needed for processing high acid foods. These are readily available at brick & mortar stores & online marketplaces for $20usd or less.
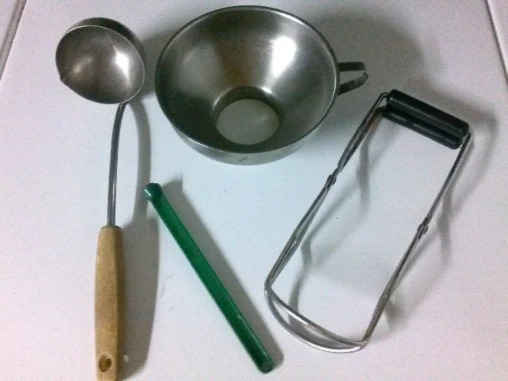
Some specialty tools that are necessary for home canning include a canning funnel, jar tongs, magnetic lid lifter, & a good quality ladle.
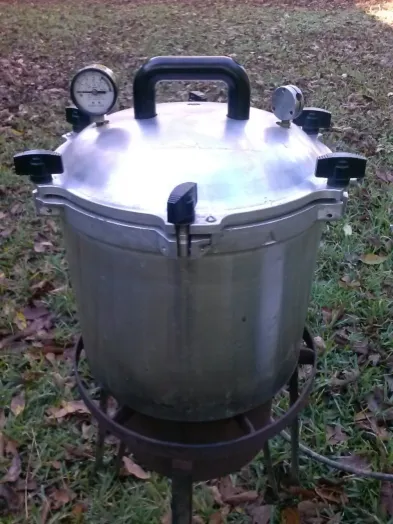
A pressure canner is needed to process low acid foods. This one is made by All American (we have no affiliation) and has a capacity of 19 pint jars or 7 quarts. This capacity is achieved by double stacking pint jars by use of a shelf that sits on top of the bottom layer of jars. It is a “weighted gauge” canner boasting wing nut style clamps to hold the lid down, & a metal to metal seal rather than a rubber gasket. It is constructed of machined aluminum like most other canners. We strongly recommend this type of pressure canner for longevity & ease of use. They come in various capacities, some larger than this one & some smaller (get one larger than you think you need because you will likely expand in the future).
There are tons of quality pressure canners on the market that will work just fine, but many require more maintenance. Keep in mind that a pressure canner is an investment that can be passed down for many generations. Models with rubber gaskets need periodic replacement & will be difficult to maintain once the model becomes obsolete, while the metal to metal sealing surface of the All American will last for the lifetime of the canner.
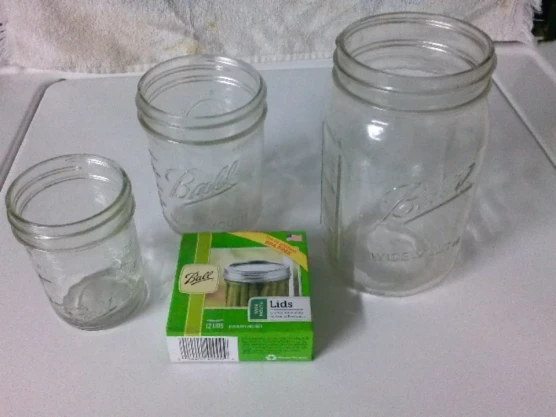
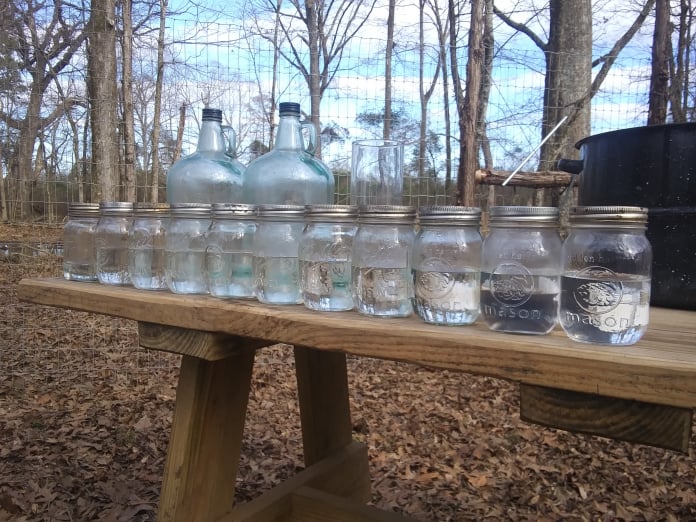
Now that all the tools & utensils have been obtained, it’s time to start amassing a collection of canning jars. These will become family heirlooms for generations to come. A majority of the jars in our collection have been passed through many generations already.
There is no particular brand name to go with, just make sure they are made for canning. We do not recommend canning in jars obtained from the purchase of commercially processed food. We have seen people can in mayonnaise jars, salsa jars, etc., but this is not an acceptable practice. These jars are not designed to take the heat generated in a pressure canner nor are they designed to be used with home canning lids and bands. Brand names such as Ball®, Golden Harvest, Kerr, Atlas, and Knox all manufacture acceptable Mason style jars for home canning purposes. There are a plethora of shapes and sizes out there. We find it important to use practical shapes and sizes for stacking in the pantry or cellar. It is best to can food in sizes that will be used in one sitting. If it has to be closed back up and placed in the refrigerator after a meal, the practicality of home canning just blew right out the window.
Just as a last word on canning jars, there are some styles other than the typical “Mason” style jar out there. European canning jars use glass lids with reusable natural rubber seals & we have often wished that we had started with this style of jar. It has been claimed that these seals can be reused indefinitely. One huge advantage glass lids have is that they will not corrode when exposed to salt (metal lids exposed to salt don't last very long). Salt is used in brine for fish, pickles, & quite a few other recipes, & glass lids would be impervious to the oxidation that plagues metal lids over time.
Safety is always a concern when home canning. Not just food safety, but the physical safety of yourself & those around you. High temperatures are obtained in a pressure canner (240°F @ 10# pressure). High temperature coupled with high pressure can be a potential hazard to people & property. The utmost care should be taken at all times to ensure the safety of people & property while the canning process is underway. Be sure to read all instructions that accompany your new canner before attempting to use it.
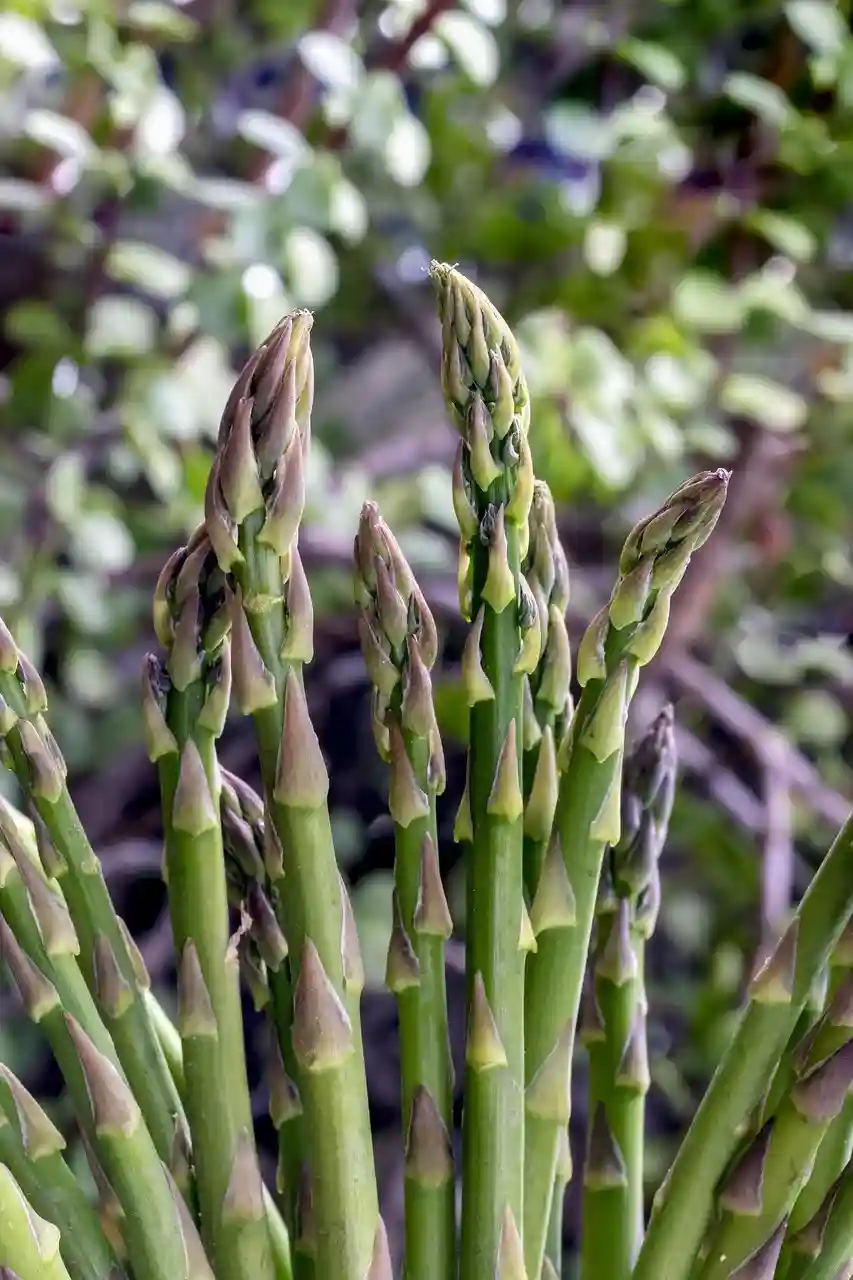
Harvest spears at about six inches long. Spears can be left whole or cut into desired sizes (generally one inch long).
Prepare pressure canner, jars, and lids.
Cold pack asparagus tightly into hot jars, covering with boiling water. Leave a minimum one inch of headspace. If asparagus is left whole, pack them in jars with the tips facing downward.
Process pint jars for 30 minutes, & quart jars for 40 minutes.
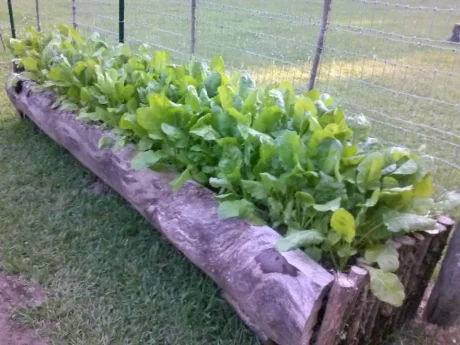
When harvesting beets, it is important to keep the beets whole & intact to prevent them from bleeding. Cut greens off & wash the entire beet, root & all, scrubbing with a vegetable brush when necessary. Reserve the greens for use in salads or consuming them cooked or steamed.
Boil the roots in a large non-reactive pot for twenty minutes, or until the skins are easily removed. Drain the roots in a large colander, rinsing them thoroughly with cold water. Remove the skins by hand. Cut beets into slices, or dice them.
Prepare pressure canner, jars, and lids.
Pack beets into hot jars & cover them with boiling water, leaving at least one inch headspace.
Process pint jars for 30 minutes & quart jars for 35 minutes.
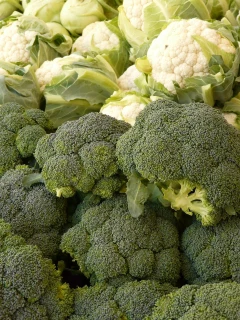
Harvest tight heads only. Rinse & cut broccoli or cauliflower into reasonably sized pieces.
Cold pack tightly into hot jars, covering with boiling water. Leave a minimum one inch of headspace.
Process pint jars for 55 minutes, & quart jars for 85 minutes.

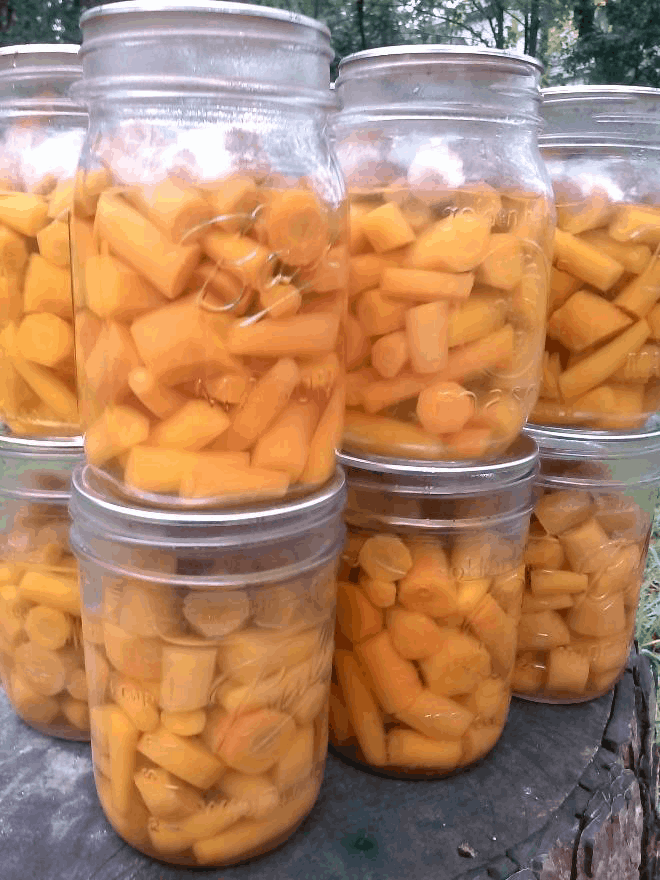
Prepare pressure canner, jars, and lids.
Remove the greens & discard.
Wash carrots with cold water, using a vegetable brush when necessary. Cut carrots into one inch long chunks, or leave small baby carrots whole.
Cold pack carrots into hot jars, covering with boiling water.
Leave a minimum one inch of headspace.
Process pint jars for 25 minutes, and quart jars for 30 minutes.
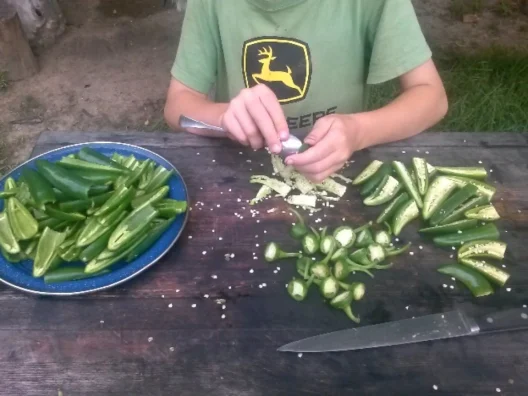
Remove the stem end with a knife. Split the jalapeno lengthwise & remove the seeds with a spoon. (*Jalapenos can cause skin, eye, & nasal irritation. Wear gloves if you wish. Lemon or lime juice applied to the skin after contact can help alleviate burning sensations.)
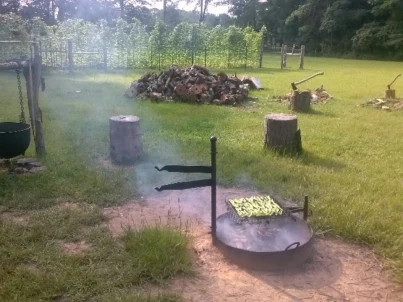
Roast the jalapeno halves on the grill skin side down until blackened.
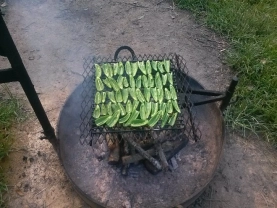
Once blackened, transfer jalapenos to a large stock pot. Work in batches if necessary.
Prepare canner, jars and lids.
Fill pot with water to cover roasted jalapenos. Slowly bring water to a boil. Boil gently for five minutes.
Using tongs, pack hot jars tightly leaving a generous one inch of headspace. Ladle hot liquid from pot into jars maintaining one inch headspace. Fit lids and bands fingertip tight & load into pressure canner.
Process ½ pint & pint jars for 35 minutes.
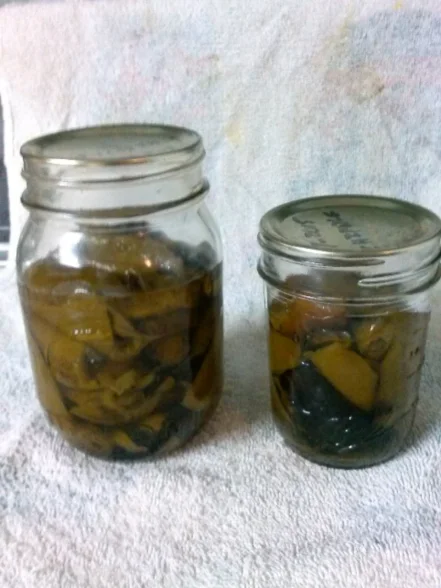
The finished product looks like this & is great for cooking. *Note that the skins were left intact unlike most chipotle recipes. They can be removed, but it’s not necessary.
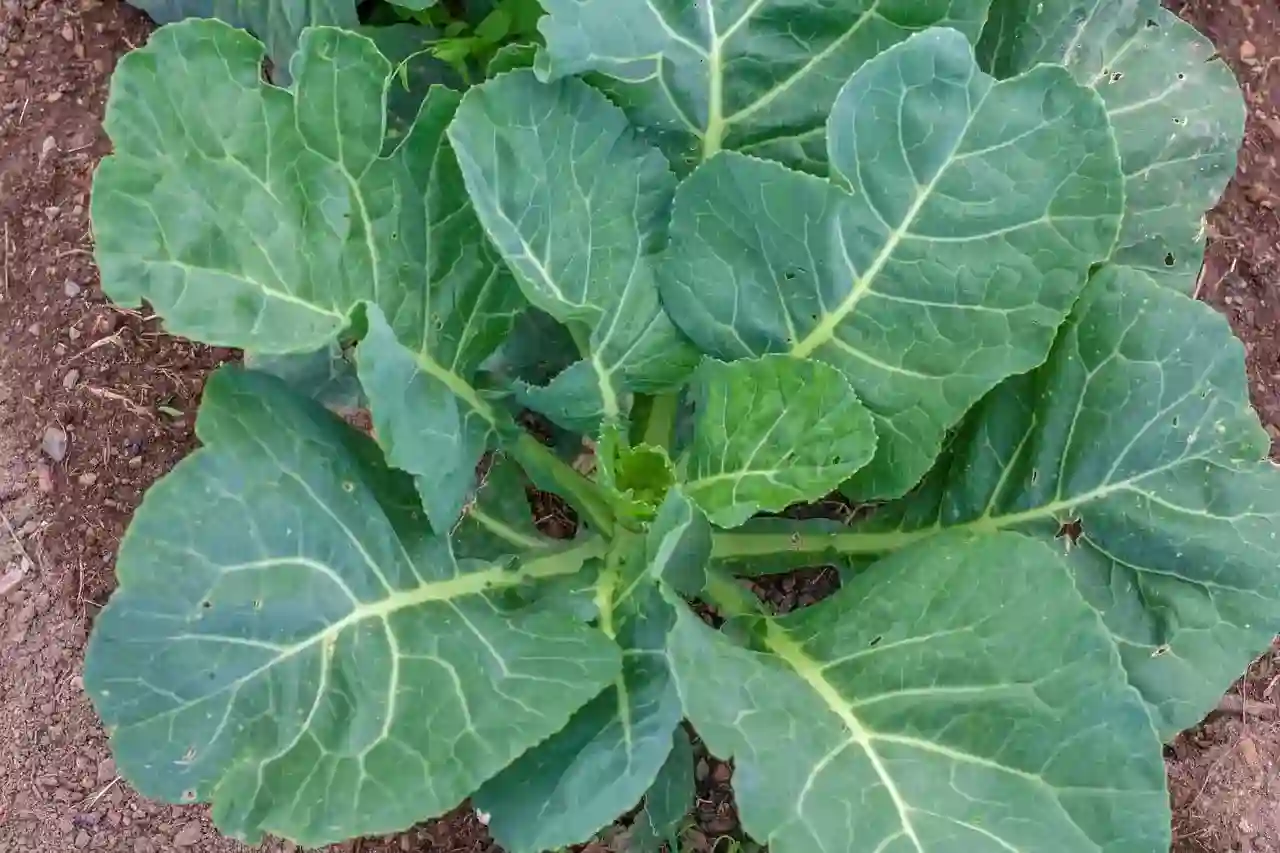
These directions will work for collard greens, mustard greens, turnip greens, kale, & Swiss chard.
Prepare pressure canner, jars, & lids.
Wash & trim greens, & blanch them for no more than five minutes. Drain greens in a colander discarding water. Chop greens coarsely.
Hot pack greens into hot jars, covering with boiling water. Leave a minimum one inch of headspace.
Process pint jars for 70 minutes, & quart jars for 90 minutes.
Prepare pressure canner, jars, & lids.
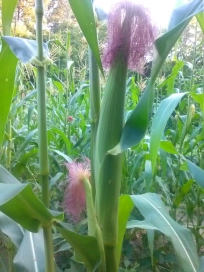
Husk corn & wash, removing silk with a vegetable brush. Cut the tips of the cobs off and discard them. Cut the kernels off the cob with a knife, or run the ears through a corn cutter.
Cold pack corn loosely into hot jars, covering with boiling water. Leave a minimum one inch of headspace.
Process pint jars for 55 minutes, & quart jars for 85 minutes.
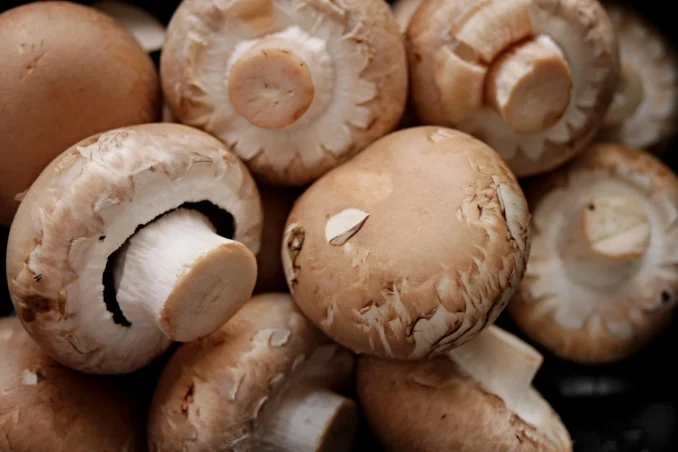
Trim stems and soak mushrooms in cold water for ten minutes.
Prepare pressure canner, jars, & lids.
Remove mushrooms from water & rinse well. Cut mushrooms in half if desired, or leave whole.
Mix ¼ cup lemon juice to 4 cups of water. Cover mushrooms in this solution to prevent them from browning.
Boil mushrooms for five minutes. Drain mushrooms & discard water.
Hot pack mushrooms into hot jars, covering with boiling water. Leave a minimum one inch of headspace.
Process half pint & pint jars for 45 minutes.
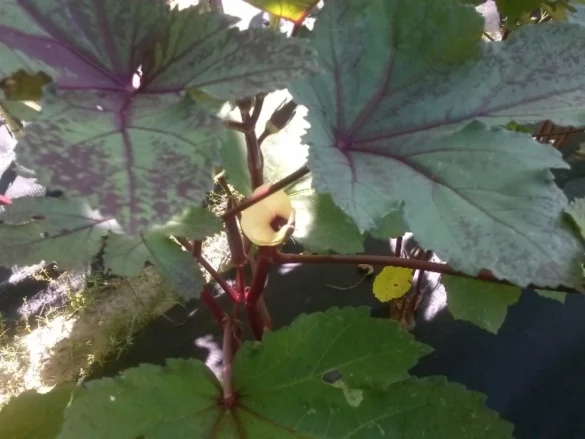
Harvest okra when it’s small. Larger pods are tough and inedible. You will know the pod is inedible if it makes a crunching sound when you cut through it with a knife.
Prepare pressure canner, jars, & lids.
Wash okra pods & drain them using a large colander. Okra can be cut into one inch long chunks or left whole. If left whole, the stem and blossom ends must be removed with a knife.
Boil okra for two minutes, then drain through a large strainer discarding the water.
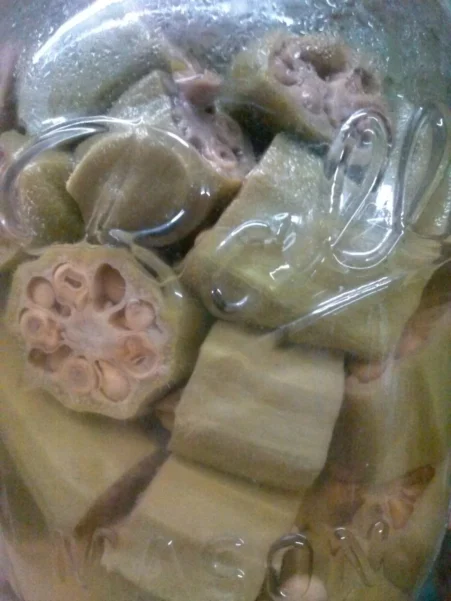
Hot pack into hot jars covering with boiling water. Leave a minimum one inch of headspace.
Process pint jars for 25 minutes, & quart jars for 40 minutes.
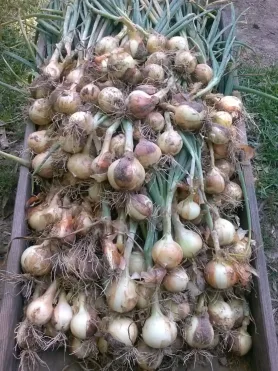
Harvest onions that are golf ball sized, or at least no larger than two and one half inch in diameter. Cut tops & roots off with a knife, & peal the onions back to the first usable layer.
Prepare pressure canner, jars, & lids.
Cold pack whole onions into hot jars, covering with boiling water. Leave a minimum one inch of headspace.
Process pint jars for 40 minutes, & quart jars for 55 minutes.
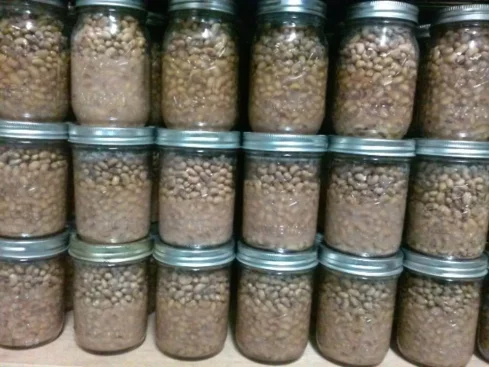
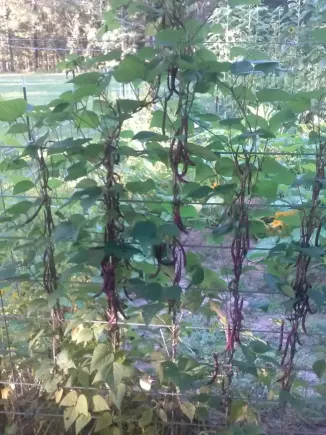
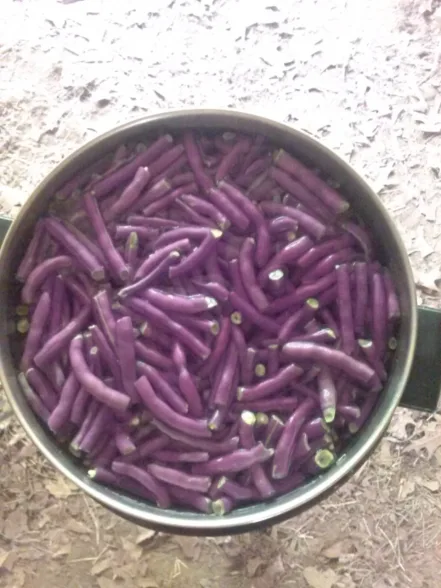
These directions will work for black-eyed peas, purple hull peas, crowder peas, field peas, butter beans, pinto beans, black turtle beans, and most other shelled peas or beans.
Prepare pressure canner, jars, & lids.
Rinse shelled peas or beans in colander.
Cold pack peas or beans loosely into hot jars, covering with boiling water. Leave a minimum one inch of headspace. Add salt if desired at a rate of ½ teaspoon per pint jar, or 1 teaspoon per quart jar.
Process pint jars for 40 minutes, & quart jars for 50 minutes.
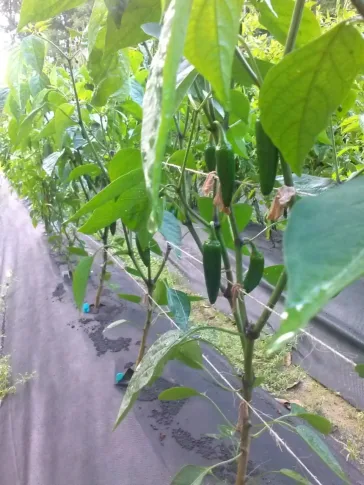
Peppers can seriously burn or irritate skin, eyes, and nasal passages. Use of nitrile gloves and safety glasses is strongly recommended.
This recipe will work for jalapeno peppers, bell peppers, pimento peppers, and virtually any other meaty pepper, as well as some meaty chiles.
Peppers cannot be canned in jars larger than one pint.
Prepare pressure canner, jars, & lids.
For smaller peppers such as jalapenos, cut in half lengthwise and scoop out seed cores with a spoon. This is not necessary for larger peppers such as bell or pimento.
Boil whole or halved & cored peppers until the skins loosen enough to facilitate removal. Peppers can also be roasted over a fire to facilitate easy removal of skins.
Rinse peppers with cold water, removing stems & seeds (if still intact). Peppers can be left whole, or cut into pieces.
Hot pack peppers into hot jars, covering with boiling water.
Leave a minimum one inch of headspace.
Process pint jars or smaller for 35 minutes.
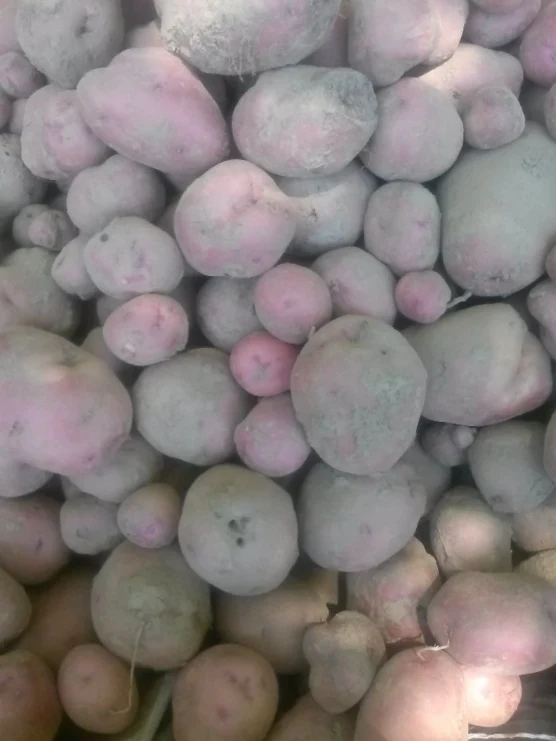
Dig potatoes & allow them to cure for a week or more.
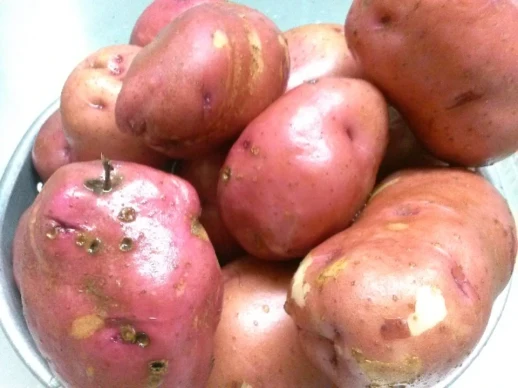
Prepare pressure canner, jars, & lids.
Wash potatoes & peel them, cutting large potatoes into quarters & leaving small potatoes whole. Rinse & transfer to a pot of cold water as you go.
Boil potatoes for two minutes. Drain into colander discarding water.
Hot pack into hot jars, covering with boiling water. Leave a minimum one inch of headspace.
Process pint jars for 35 minutes, & quart jars for 40 minutes.
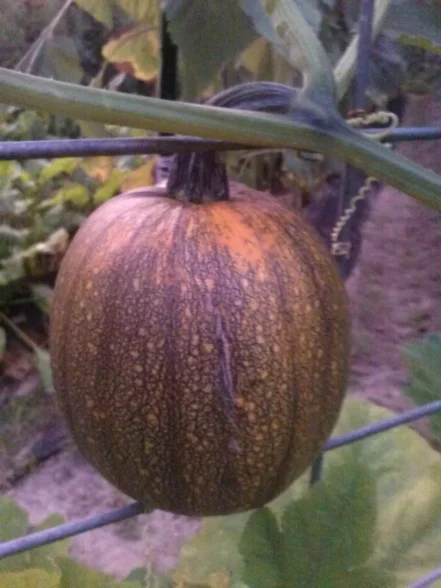
Prepare pressure canner, jars, & lids.
Cut pumpkin into quarters & remove seeds.
Bake quarters, rind side down in an oven. Put a little water inside the quarters to prevent them from drying out during the baking process.
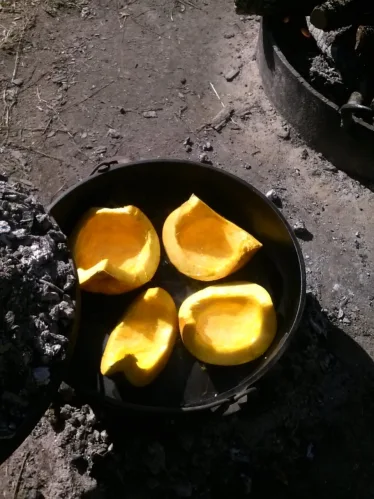
Remove rind & cut the flesh into cubes roughly one inch square.
Boil pumpkin for two minutes & drain in a colander, discarding water.
Hot pack pumpkin into hot jars, covering with boiling water. Leave a minimum one inch of headspace.
Process pint jars for 55 minutes, & quart jars for 90 minutes.
Use directions for pressure canning pumpkin omitting the baking process all together. Leave skins & seeds intact.
These directions will work for string beans (green beans), wax beans, snap beans, and similar types.
Prepare pressure canner, jars, & lids.
Snap beans into pieces roughly two inches in length discarding ends.
Place beans into a large pot & cover with water. Heat until water reaches a boil, then remove from heat.
Hot pack beans into hot jars, covering with boiling water. Leave a minimum one inch of headspace.
Process pint jars for 20 minute, & quart jars for 25 minutes.
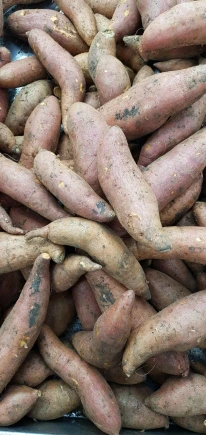
Peel sweet potatoes, cut into one inch cubes, & boil for ten to fifteen minutes. Drain in a colander and discard water. An alternative method is to boil the whole sweet potato until the skin can be peeled by hand, & then cutting into one inch cubes.
Hot pack into hot jars, covering with boiling water. Leave a minimum one inch of headspace.
Process pint jars for 65 minutes, & quart jars for 90 minutes.
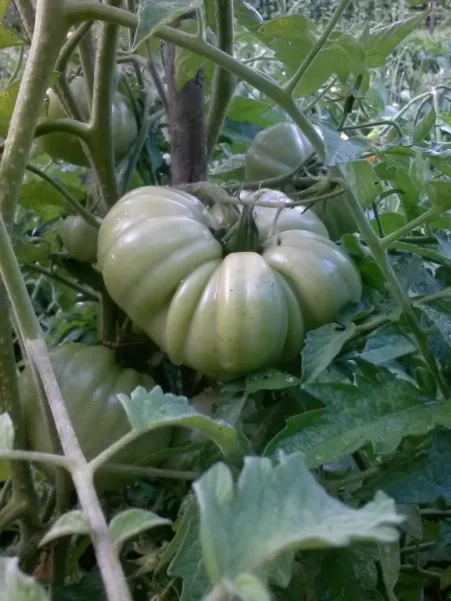
Prepare pressure canner, jars, & lids.
Drop tomatoes into boiling water until skins crack, adding new tomatoes as others are removed. Remove skins from tomatoes, & core them with a paring knife. Tomatoes can be left whole, or cut to desired size.
Add lemon juice at a rate of one tablespoon per pint jar, or two tablespoons per quart jar. Pack tomatoes into hot jars, covering with boiling water. Leave a minimum one inch of headspace.
Process pint & quart jars for 10 minutes.
Variation (water bath canner)
Prepare water bath canner, jars, and lids.
Follow directions for pressure canned tomatoes.
Process pint jars for 40 minutes, & quart jars for 45 minutes.
Mississippi Foundation for Renewable Energy & BackwoodsEnergy.org will not be held responsible for any mishaps incurred as a result of YOUR application of any instruction provided in this document. We strive to provide accurate, helpful information through our tutorials, ebooks, & printed documents, but cannot account for the way said information is applied. Please follow all standard safety precautions & be responsible. All information conveyed in any of our publications is to be applied “AT YOUR OWN RISK & DISCRETION”. Please be careful.
Learn how to make delicious, healthy acorn flour just as many early cultures did long ago. All you need is an oak tree of any variety to collect acorns from. Acorn flour imparts an earthy, organic flavor to bread, pastries, or any dish that regular flour is normally used for. From acorn dumplings to pie crust & loafs of bread, baking with acorn flour sets the stage for a truly natural, superb culinary experience. This is an activity for the whole family to do around the camp fire, or by yourself for a fun adventure.
$2.99
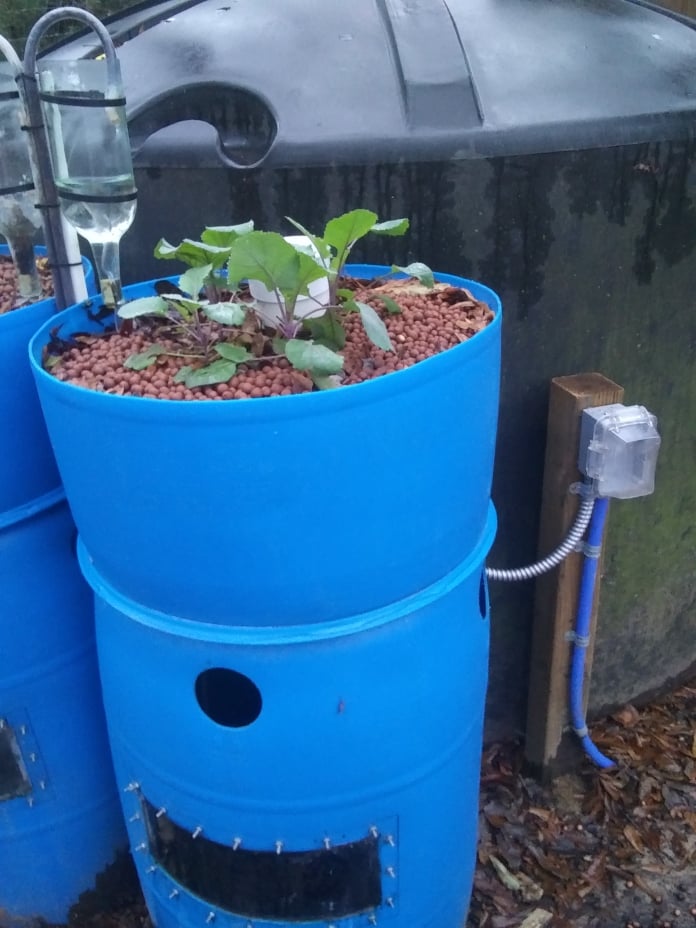
Get a comprehensive lesson in biology that will open doors to countless other areas of scientific study. Learn all about the complex chemistry that allows both plants & fish to thrive in a shared environment. Aquaponics is a hybrid farming technique that combines hydroponic growing of edible plants, with aquaculture by raising fish in a symbiotic condition. Produce your own health conscience meat & vegetables in an area as small as a big city apartment balcony!
$9.99
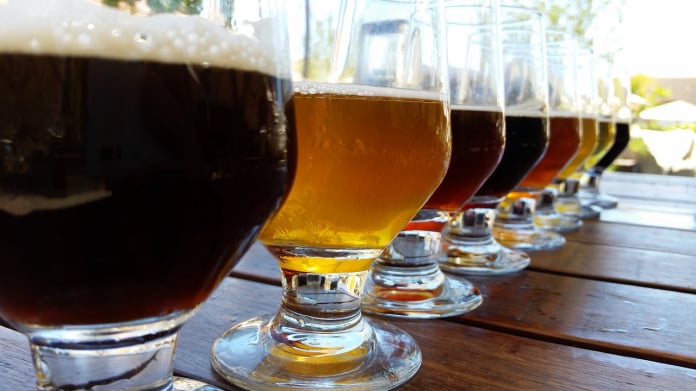
If you enjoy beer for more than just the buzz, making your own is quite a fulfilling hobby. If your interest is all about the buzz, you can have fun playing with the alcohol content while still maintaining an acceptable flavor. Grow your own hops (available on this site), & make beer with a unique "homebrew" flavor that can come only from something you did all by yourself. From connoisseur to novice, brewing your own beer is bound to spark a feeling of joy unrivaled by commercial products.
Physics & chemistry come together in an explosive way. This tutorial will introduce you to pyrotechnics in a truly backwoods manner. Learn to make black powder for use in muzzleloaders & fireworks. Build a simple model rocket engine from every day materials, or a road flare for emergency situations. The amount of information provided in this tutorial will blow your mind. We sure had a blast!
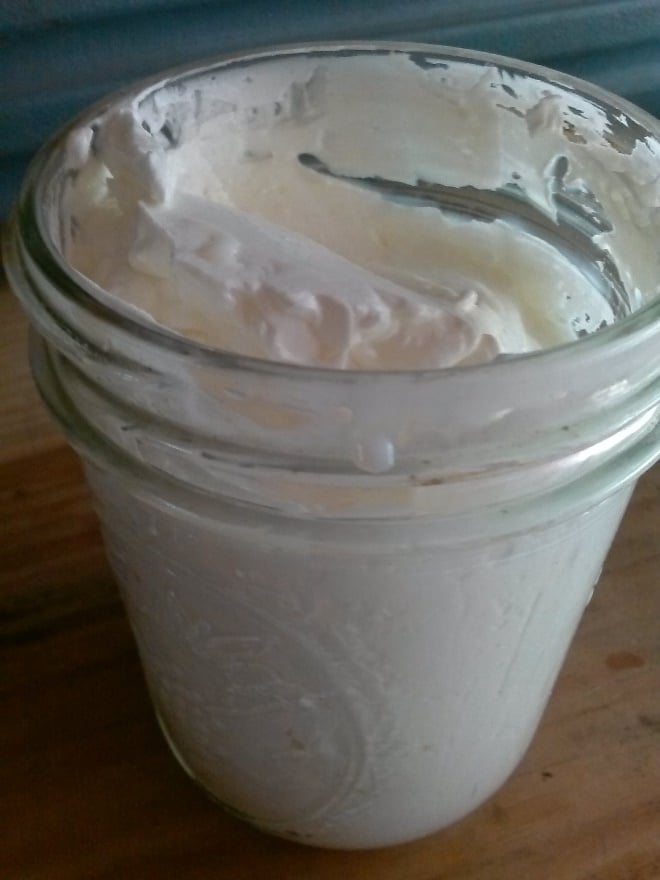
Whip up a batch of fresh butter in a jiffy. Multiple methods of producing butter at home are described in detail. With fresh milk, butter can be made in a vessel as simple as a canning or pickle jar. From churns to mixers, anyone can make fresh homemade butter with items you likely have at home already. This tutorial is a must for anyone who plans to milk a cow or goat.
$2.99
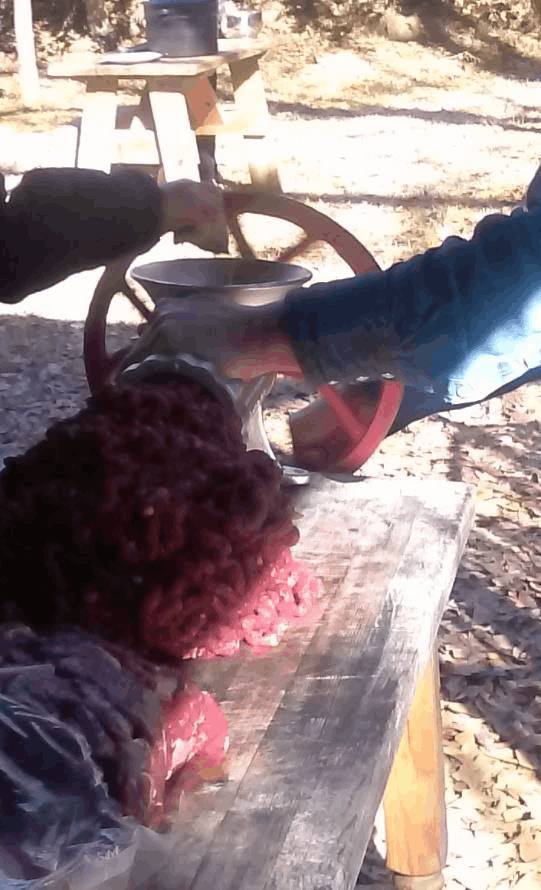
Roast, ground meat, fish, sausage links, bacon, chorizo, pepperoni & many more cuts of meat can be preserved for years by pressure canning, while still retaining all flavor & nutrients. This tutorial provides safe methods for pressure canning meats of all kinds. Canned meats are highly convenient for a quick, nutrient packed meal with no need for refrigeration (thus saving a lot of energy). Fill your pantry with more than just canned vegetables by learning the dying art of canning freshly harvested meat.
Preserve the gardens bounty, make delicious jam without the use of preservatives, & save the seasons fruit harvest by following the easy instructions in this tutorial.
12.99
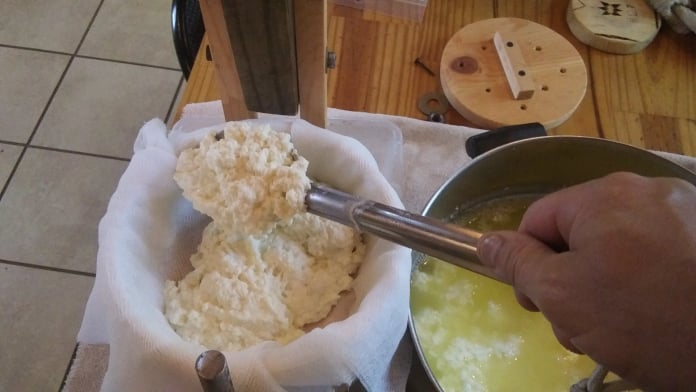
Learn to make all types of cheese from fresh milk. From cottage cheese to hard cheese, this tutorial will guide you down the path to perfection. Make cheese that can't melt for use in stir fry & baked or smoked foods. Build a hard cheese press from scratch, & much more.
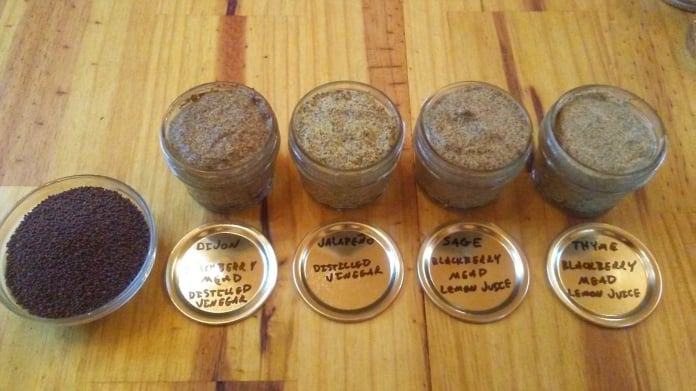
Making your own condiments is kind of the apex of self sufficiency, especially if you grow & produce your own ingredients. Learn to make mustard from home grown mustard seeds, turn your extra tomatoes into delectable ketchup & barbeque sauce, or delight your taste buds with mayonnaise made from your own eggs.

Cure meat the old fashioned way, without the use (or need for) artificial preservatives. From wet brine to dry curing & smoking, this tutorial contains many years of acquired knowledge in one condensed, easy to read document.
$9.99
Come along on a trip to Missouri to learn the art of distilling high quality alcohol. Made from grains, berries, fruits, honey, potatoes or many other fermentable things found in nature, alcohol is a commodity that has far more uses than simply consuming. Power your garden tiller from distilled corn mash, fuel a cook stove, extract essential oils, or just get drunk. Just about everyone has a significant use for distilled alcohol even if they don't realize it.
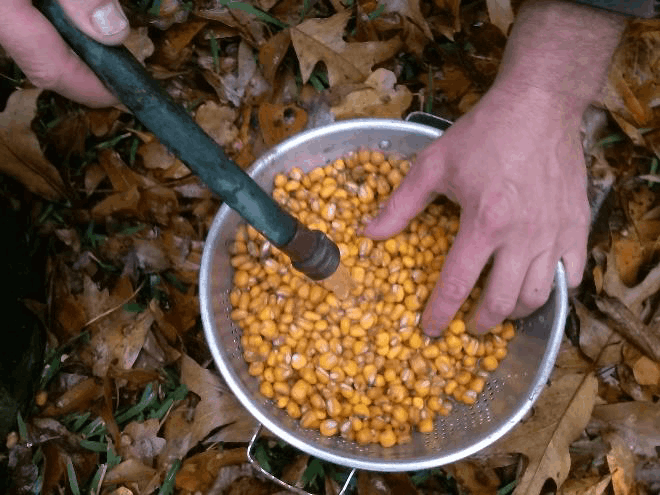
Hominy made the real old fashioned way. All you need is hardwood ashes, corn, & this tutorial. Make a large batch of hominy & pressure can it for future consumption. Homemade hominy is just plain unbeatable when it comes to flavor & consistency. WARNING: You will never eat store bought hominy again.
$2.99
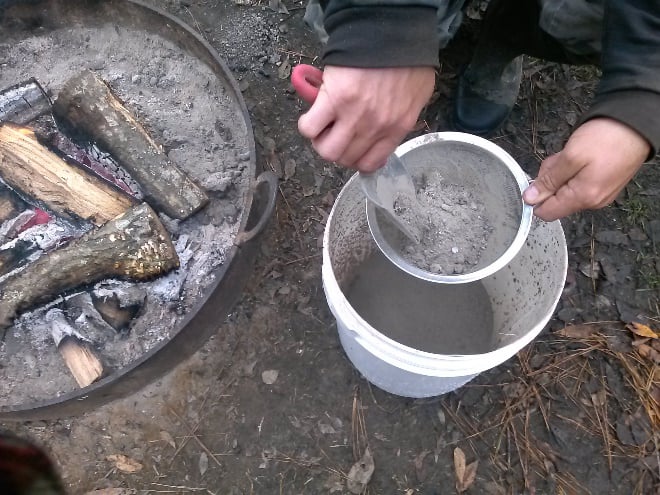
Commercial cleansing products sold today which we call soap, are actually detergents. Detergents are harsh & may be harmful to the skin, especially if your skin is sensitive. Learn to make real soap by the process of saponification. All that is needed is some hardwood ashes, & meat fat or vegetable oil. This is a detailed instruction on the process of extracting lye from hardwood ash, as well as making naturally scented bar soap.
$3.99
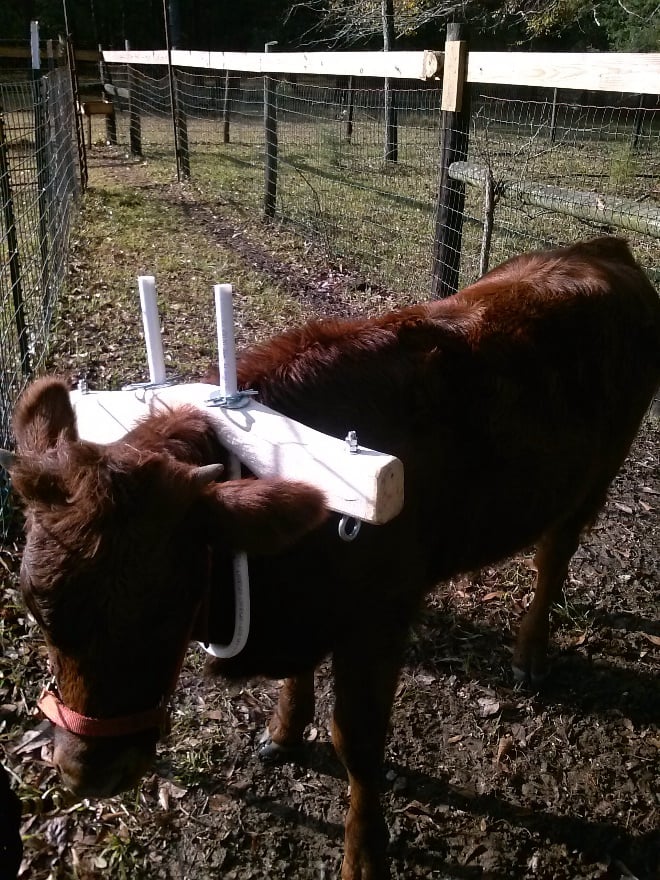
Over the years, draft power (animal driven) has all but disappeared in the public eye, but can actually be a viable alternative to tractor power for the homesteader. Follow one families adventure into ox power. Learn to fabricate a yoke & other necessary gear from easy to come by materials, & train a weanling steer to pull a plow, cart, or any other implement.
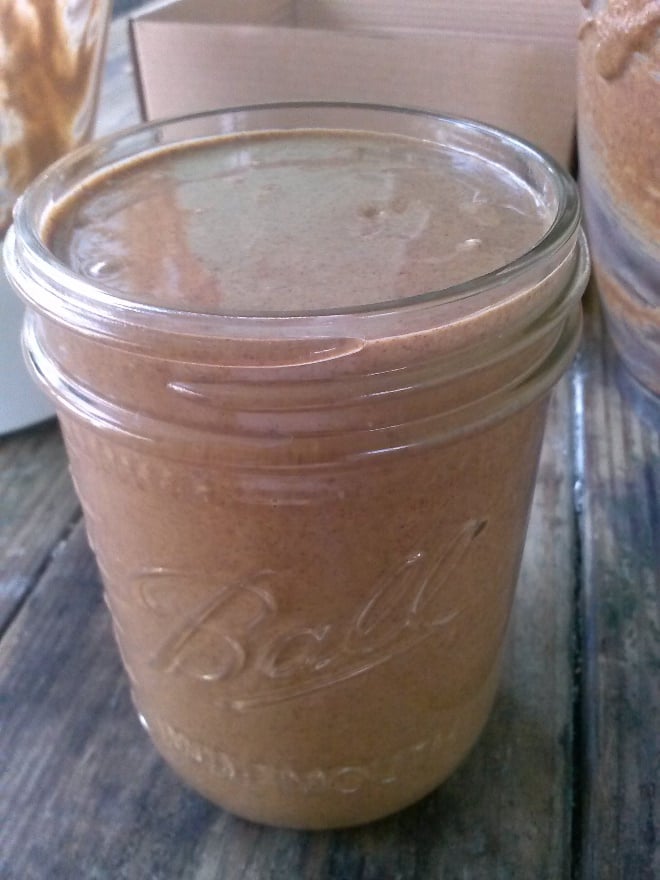
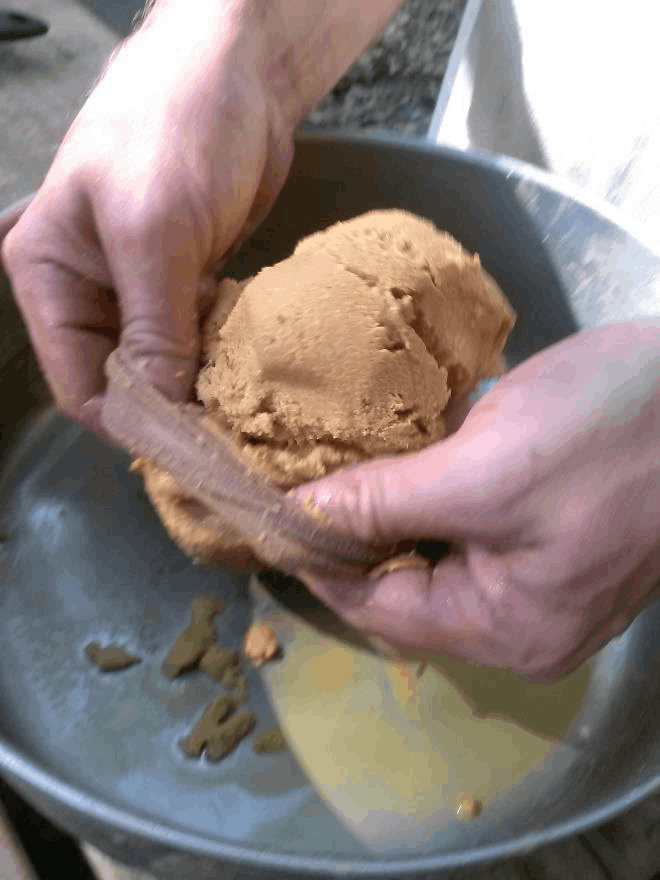
If you live in an area where you can grow peanuts or purchase raw peanuts, you are in for a treat. Making peanut butter at home will provide you with an entirely unique, divine culinary experience. Commercial peanut butter is kind of generic & bland, but the real thing is a far cry from that. The smooth yet grainy texture just screams natural, & the flavor is like an explosion of earthy goodness. All tools necessary are likely in your kitchen already.
$1.99
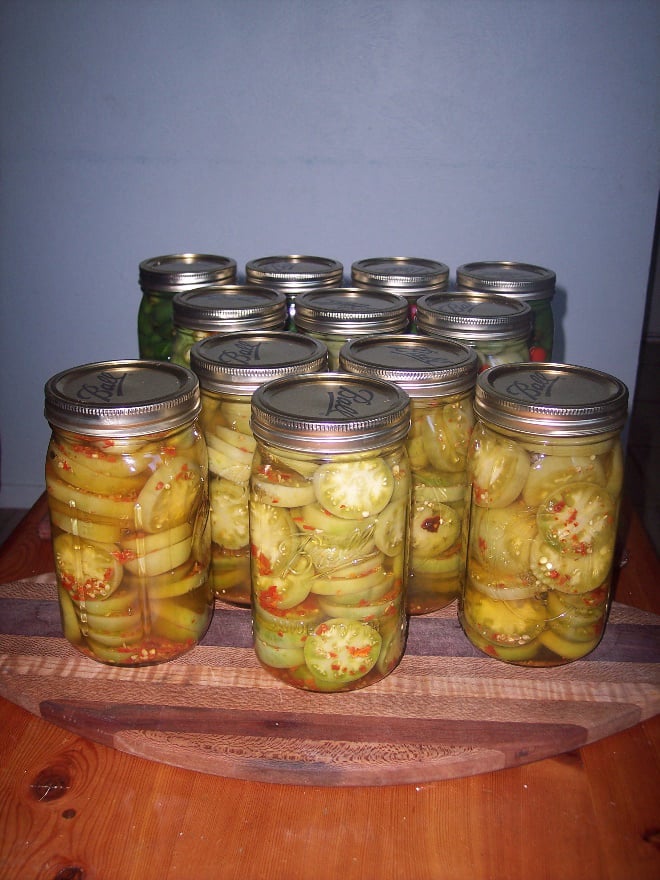
Pickling made easy. Just about any vegetable can be pickled. Minimal standard household kitchen utensils are necessary to transform your garden produce into tasty pickles that will last until the next harvest season.
$1.99
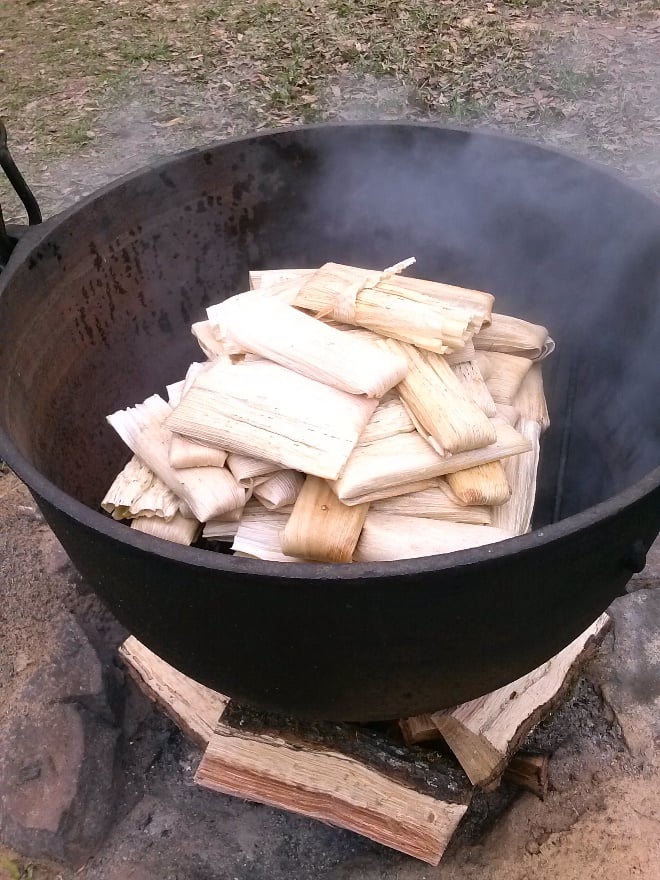
Meat, cheese, or even vegetables can be used to make excellent Mexican tamales. A basic kitchen (indoor or outdoor) has everything necessary. Unless you live in Mexico, "real" tamales are impossible to come by. By making your own, you can make them as authentic as you want, or get wild & experiment with different ingredients. Learn to steam tamales on a camp fire, or in an indoor kitchen.

Grow your own "mother of vinegar", which will provide a source of vinegar for as long as it is maintained by feeding alcohol. Vinegar is used in so many ways. From food, to cleaner & even a natural herbicide, vinegar has been used by man for eons. For health conscience folks & connoisseurs of fine food alike, making your own vinegar is definitely a venture worth the minimal effort. Give it a try.
$1.99
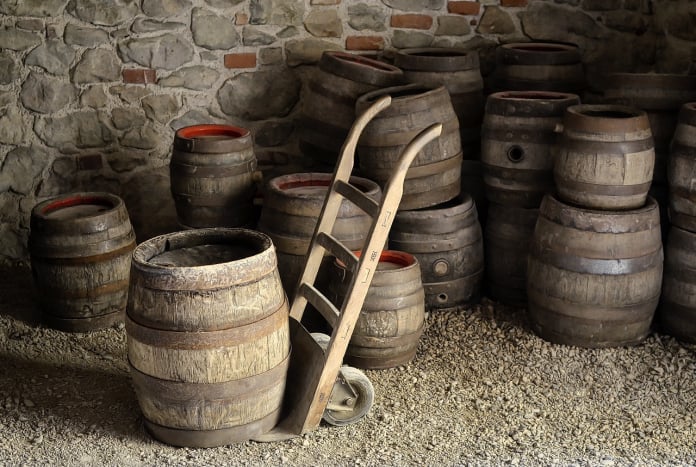
Become an amateur vintner in no time. Winemaking is an art that has captured the hearts of individuals from every continent, every race, every background, & in every era recorded in history. Learn all about the chemistry involved (it might even spark a new interest in chemistry), & embark upon an incredible adventure that is certain to be fulfilling.
$10.99
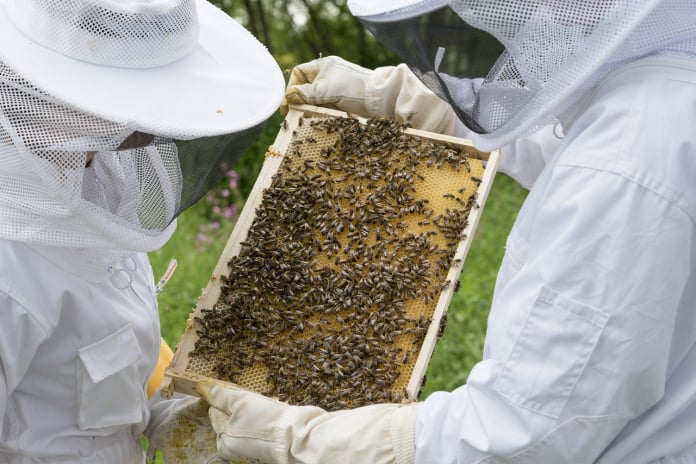
An introduction to backyard beekeeping, & an adventure into the wonderful world of entomology. Set up your own apiary & harvest fresh, clean, healthy, super local honey. Beekeeping is an excellent hobby to involve the kids in. Learn everything from the complex behavioral patterns of bees, to the rapid seasonal changes of the flowering plants from which bees harvest nectar & pollen.
Using common materials, learn to make superior quality charcoal at home. If you make black powder, this is a must due to the necessity for extreme high quality. Turn red wine vinegar clear with a pinch of bone charcoal, or make "bone black", the worlds darkest black artist paint. Discover the incredible science & art involved in the manufacture of something most would take for granted.
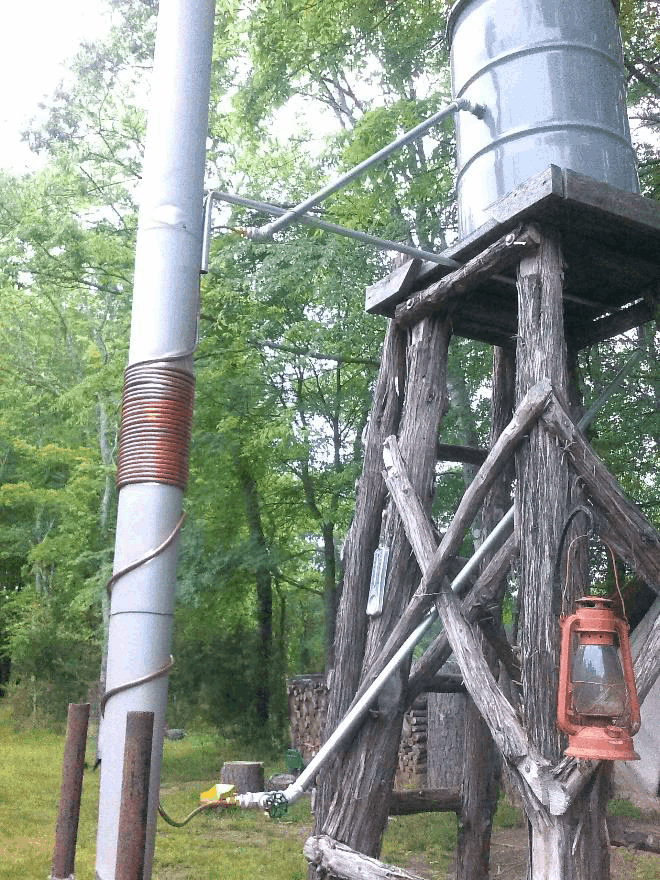
Build a wood fired hot water heater/boiler that requires no electricity. Hot showers & dish water are extremely important commodities in a remote location, & this heater design fits the bill just perfectly. Also use as a boiler for hydronic radiant heating in a home or greenhouse. Detailed instruction as well as a conceptual tutorial on the dynamics of thermosiphons.

Cast your own fishing weights, jig & spinner bodies, & bullets with minimal equipment. Embark upon a journey into metallurgy. Use foam to sculpt any object you wish to cast, & cast it in sifted ashes from the fire. Recycle used wheel weights or battery cores & turn them into new, useful products.
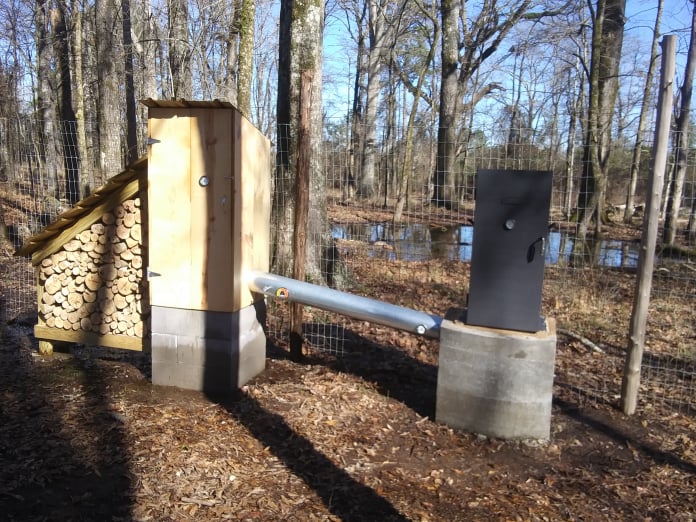
Build a cold smokehouse to preserve the seasons bounty. Learn the "old" art of smoke curing & the design concepts of a cold smokehouse.
We work hard & can't always get to the phone, so leave us a message & we will call back as soon as possible.